
How to Create Multiple Instances of the same Webcam in OBS Studio [Nested Scenes]
Problem
Normally in Open Broadcaster Software Studio (OBS), if you add any filters or effects to your webcam or other camera source, those same changes will be applied to that camera in every other scene. This is problematic when switching scenes.
Say you have a gameplay scene with your webcam on a layer above the game itself. To make the background of your camera transparent, you can use a green screen and add a chroma key filter to your webcam. Unfortunately, now if you switch to another scene (like one with just your cam), you’ll have an awkwardly keyed out background.
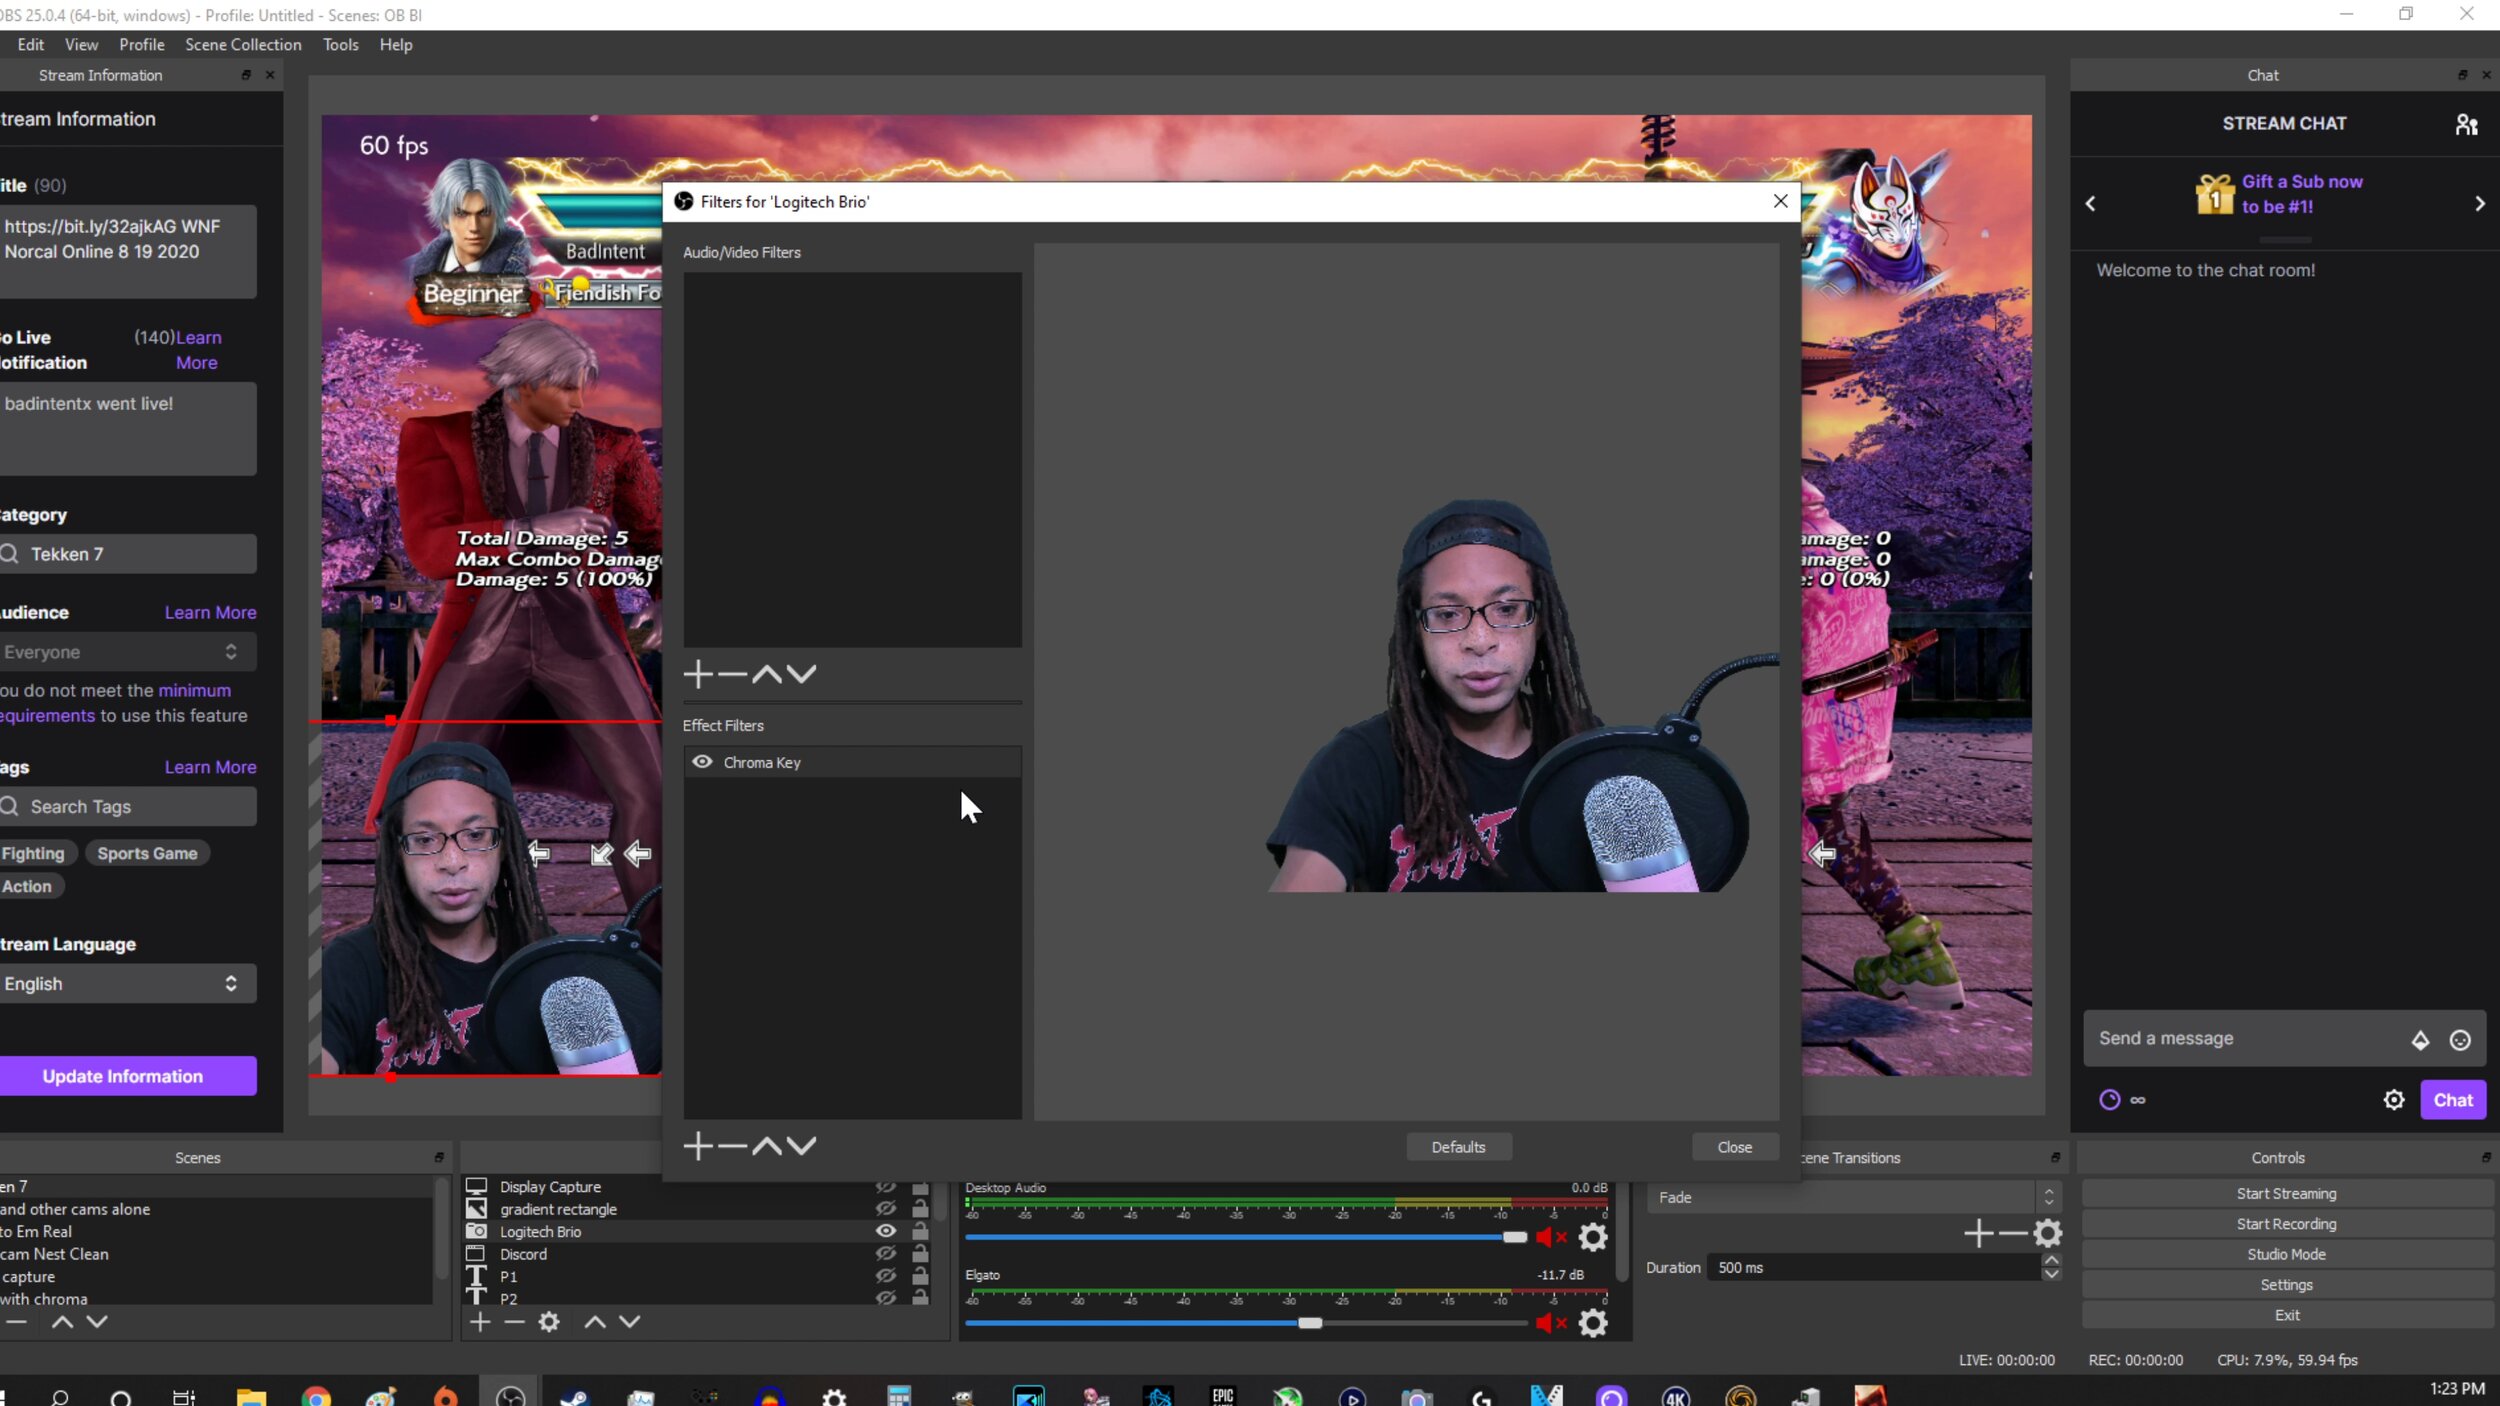
Adding a chroma key to webcam over gameplay
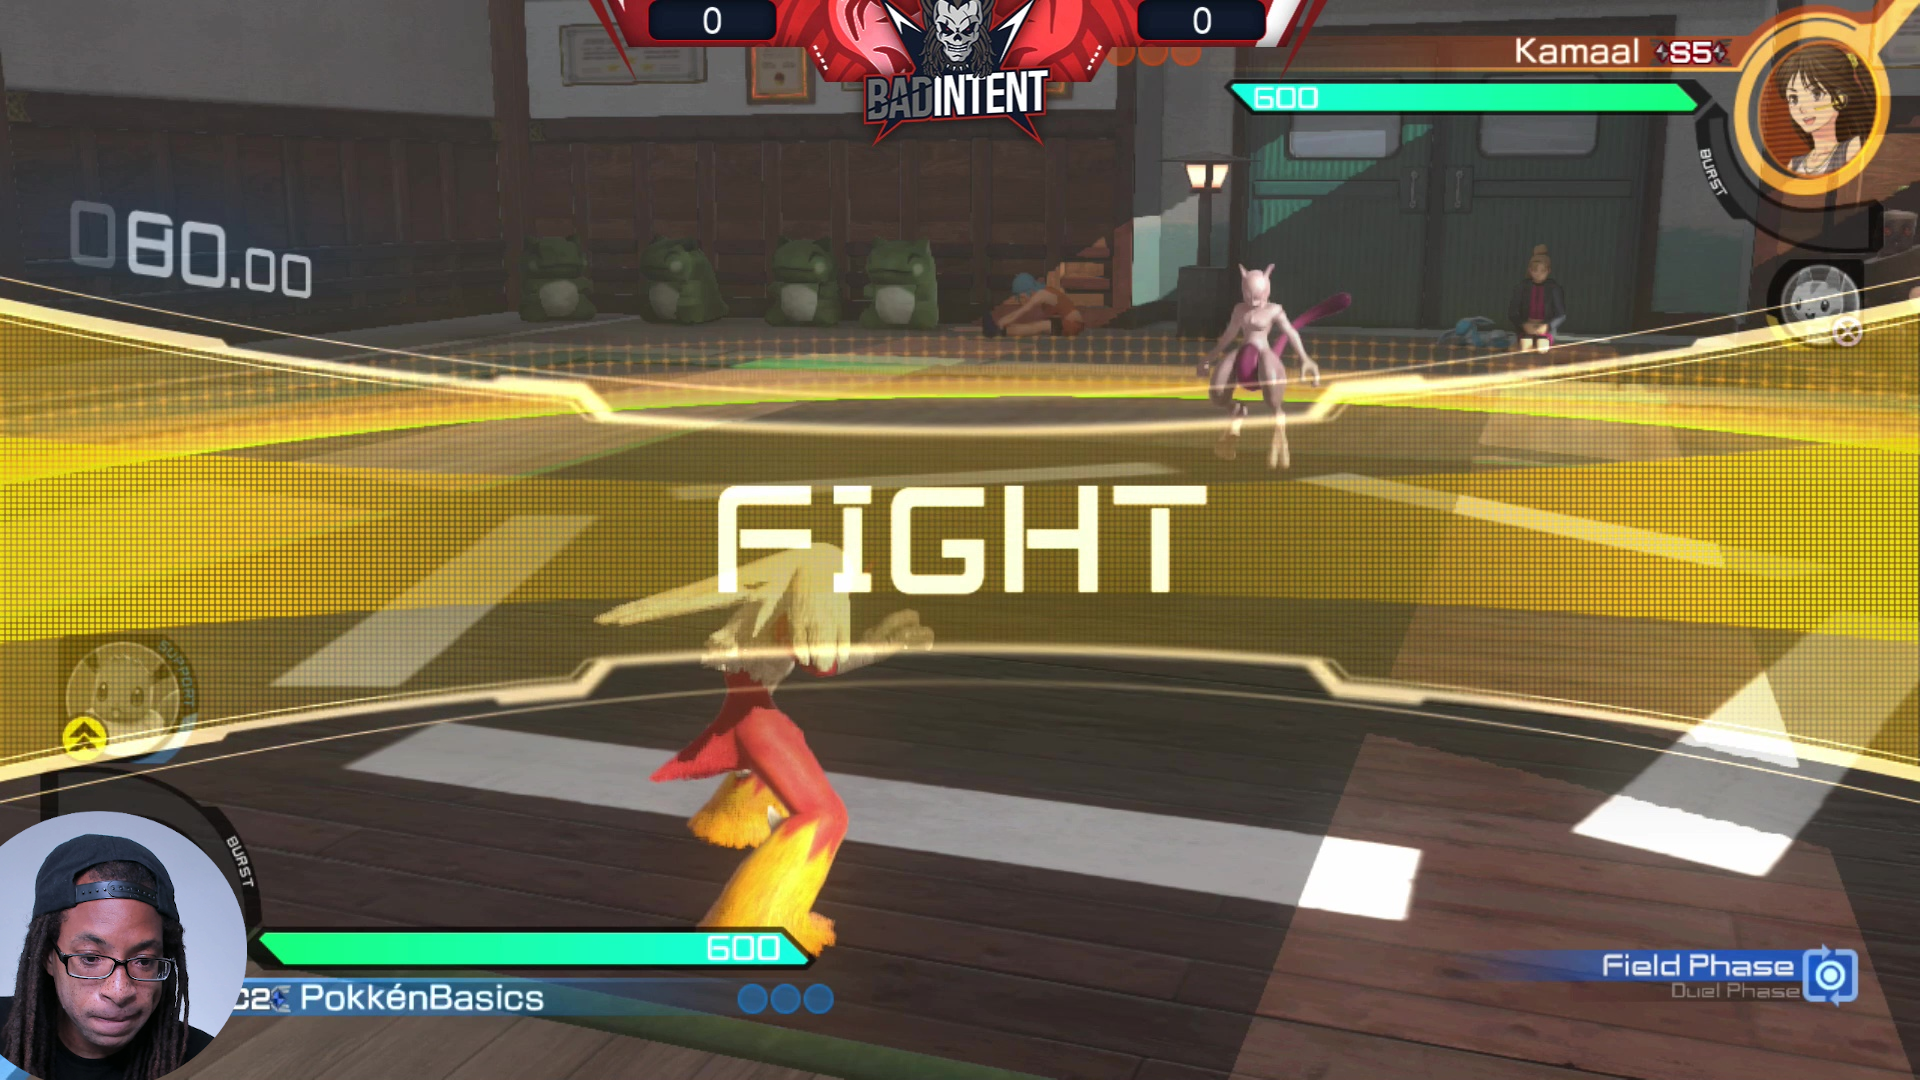
Image mask applied to webcam to shape camera as a circle

That same filter now shows up in my other scenes.

Same image mask shows up again eveywhere else. Not ideal.
To fix this issue, you’ll need to create two different instances of the same webcam using a technique called nested scenes. A nested scene is simply when you add an entire scene as a source inside another scene. Here is an example of how to do this:
Solution
Step 1: Create a new scene (Scene 1)
Step 2: Create another new scene (Scene 2)
Step 3: Add your webcam as a source in Scene 1.
Step 4: Add that same webcam as a source in Scene 2.
Step 5: Add any effects or filters to Scene 2.
Step 6: Add Scene 2 into any of your other scenes as a source.

Click the + sign on the lower left to add a new scene. Do this twice.
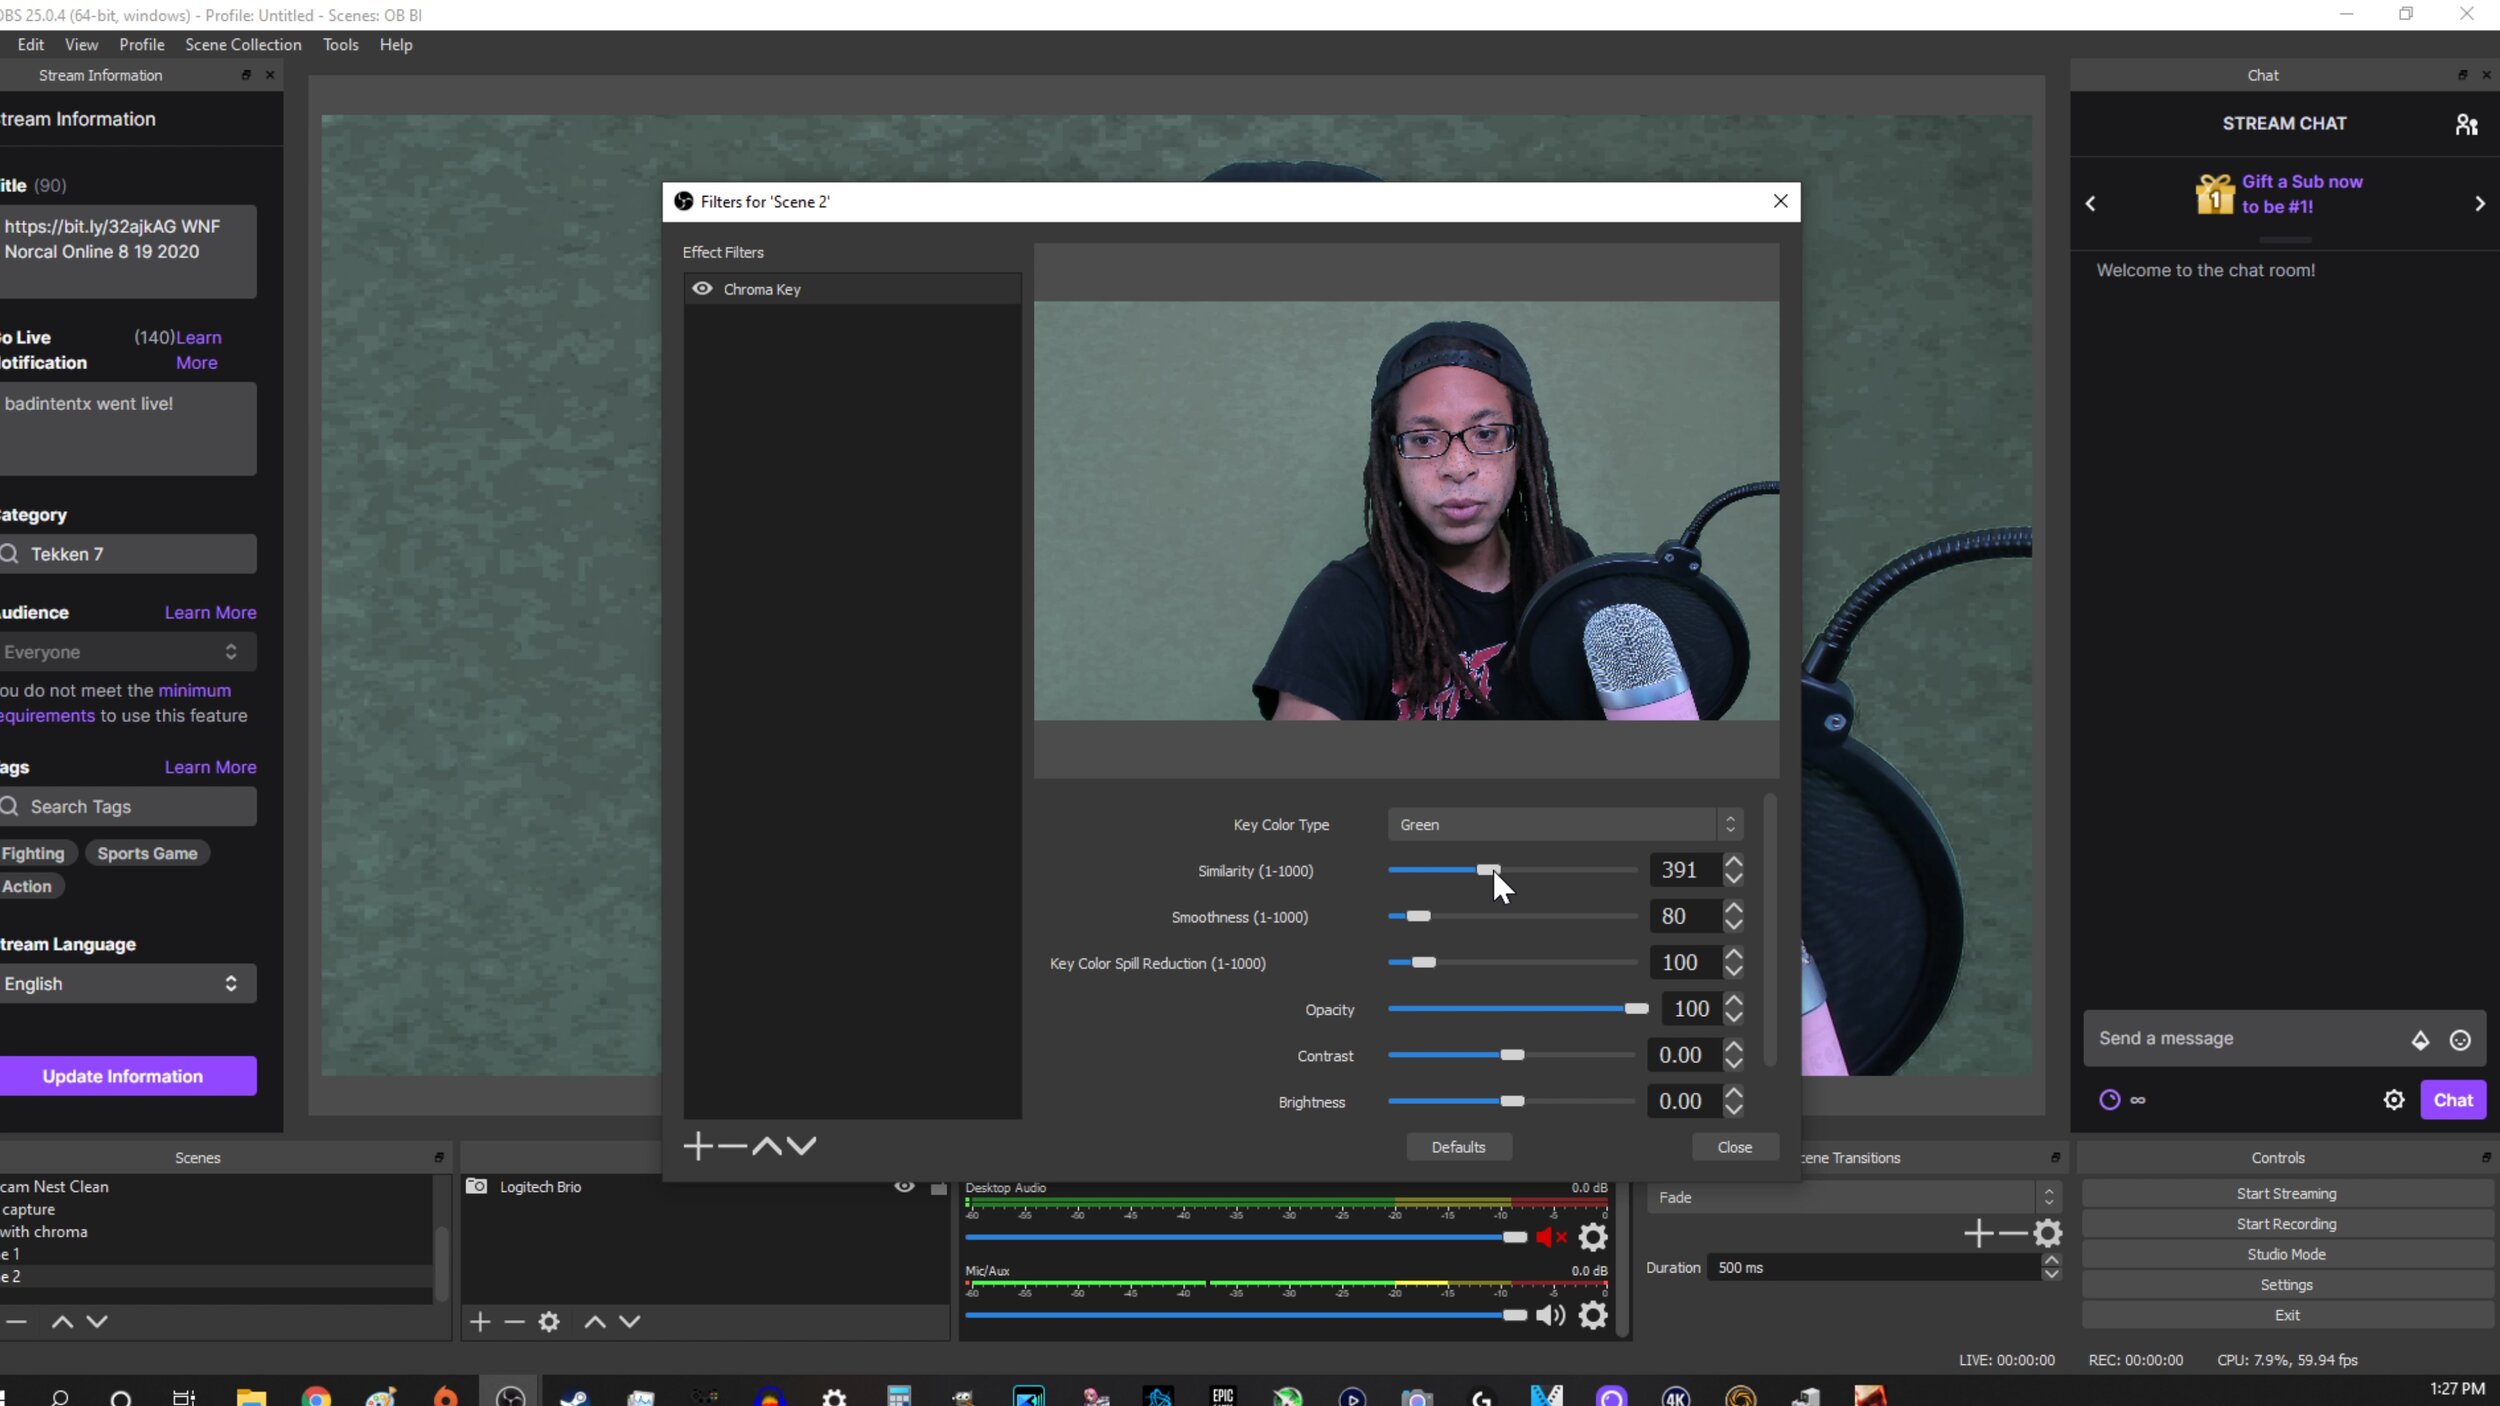
Right click Scene 2 on the lower left and add your effects to it.
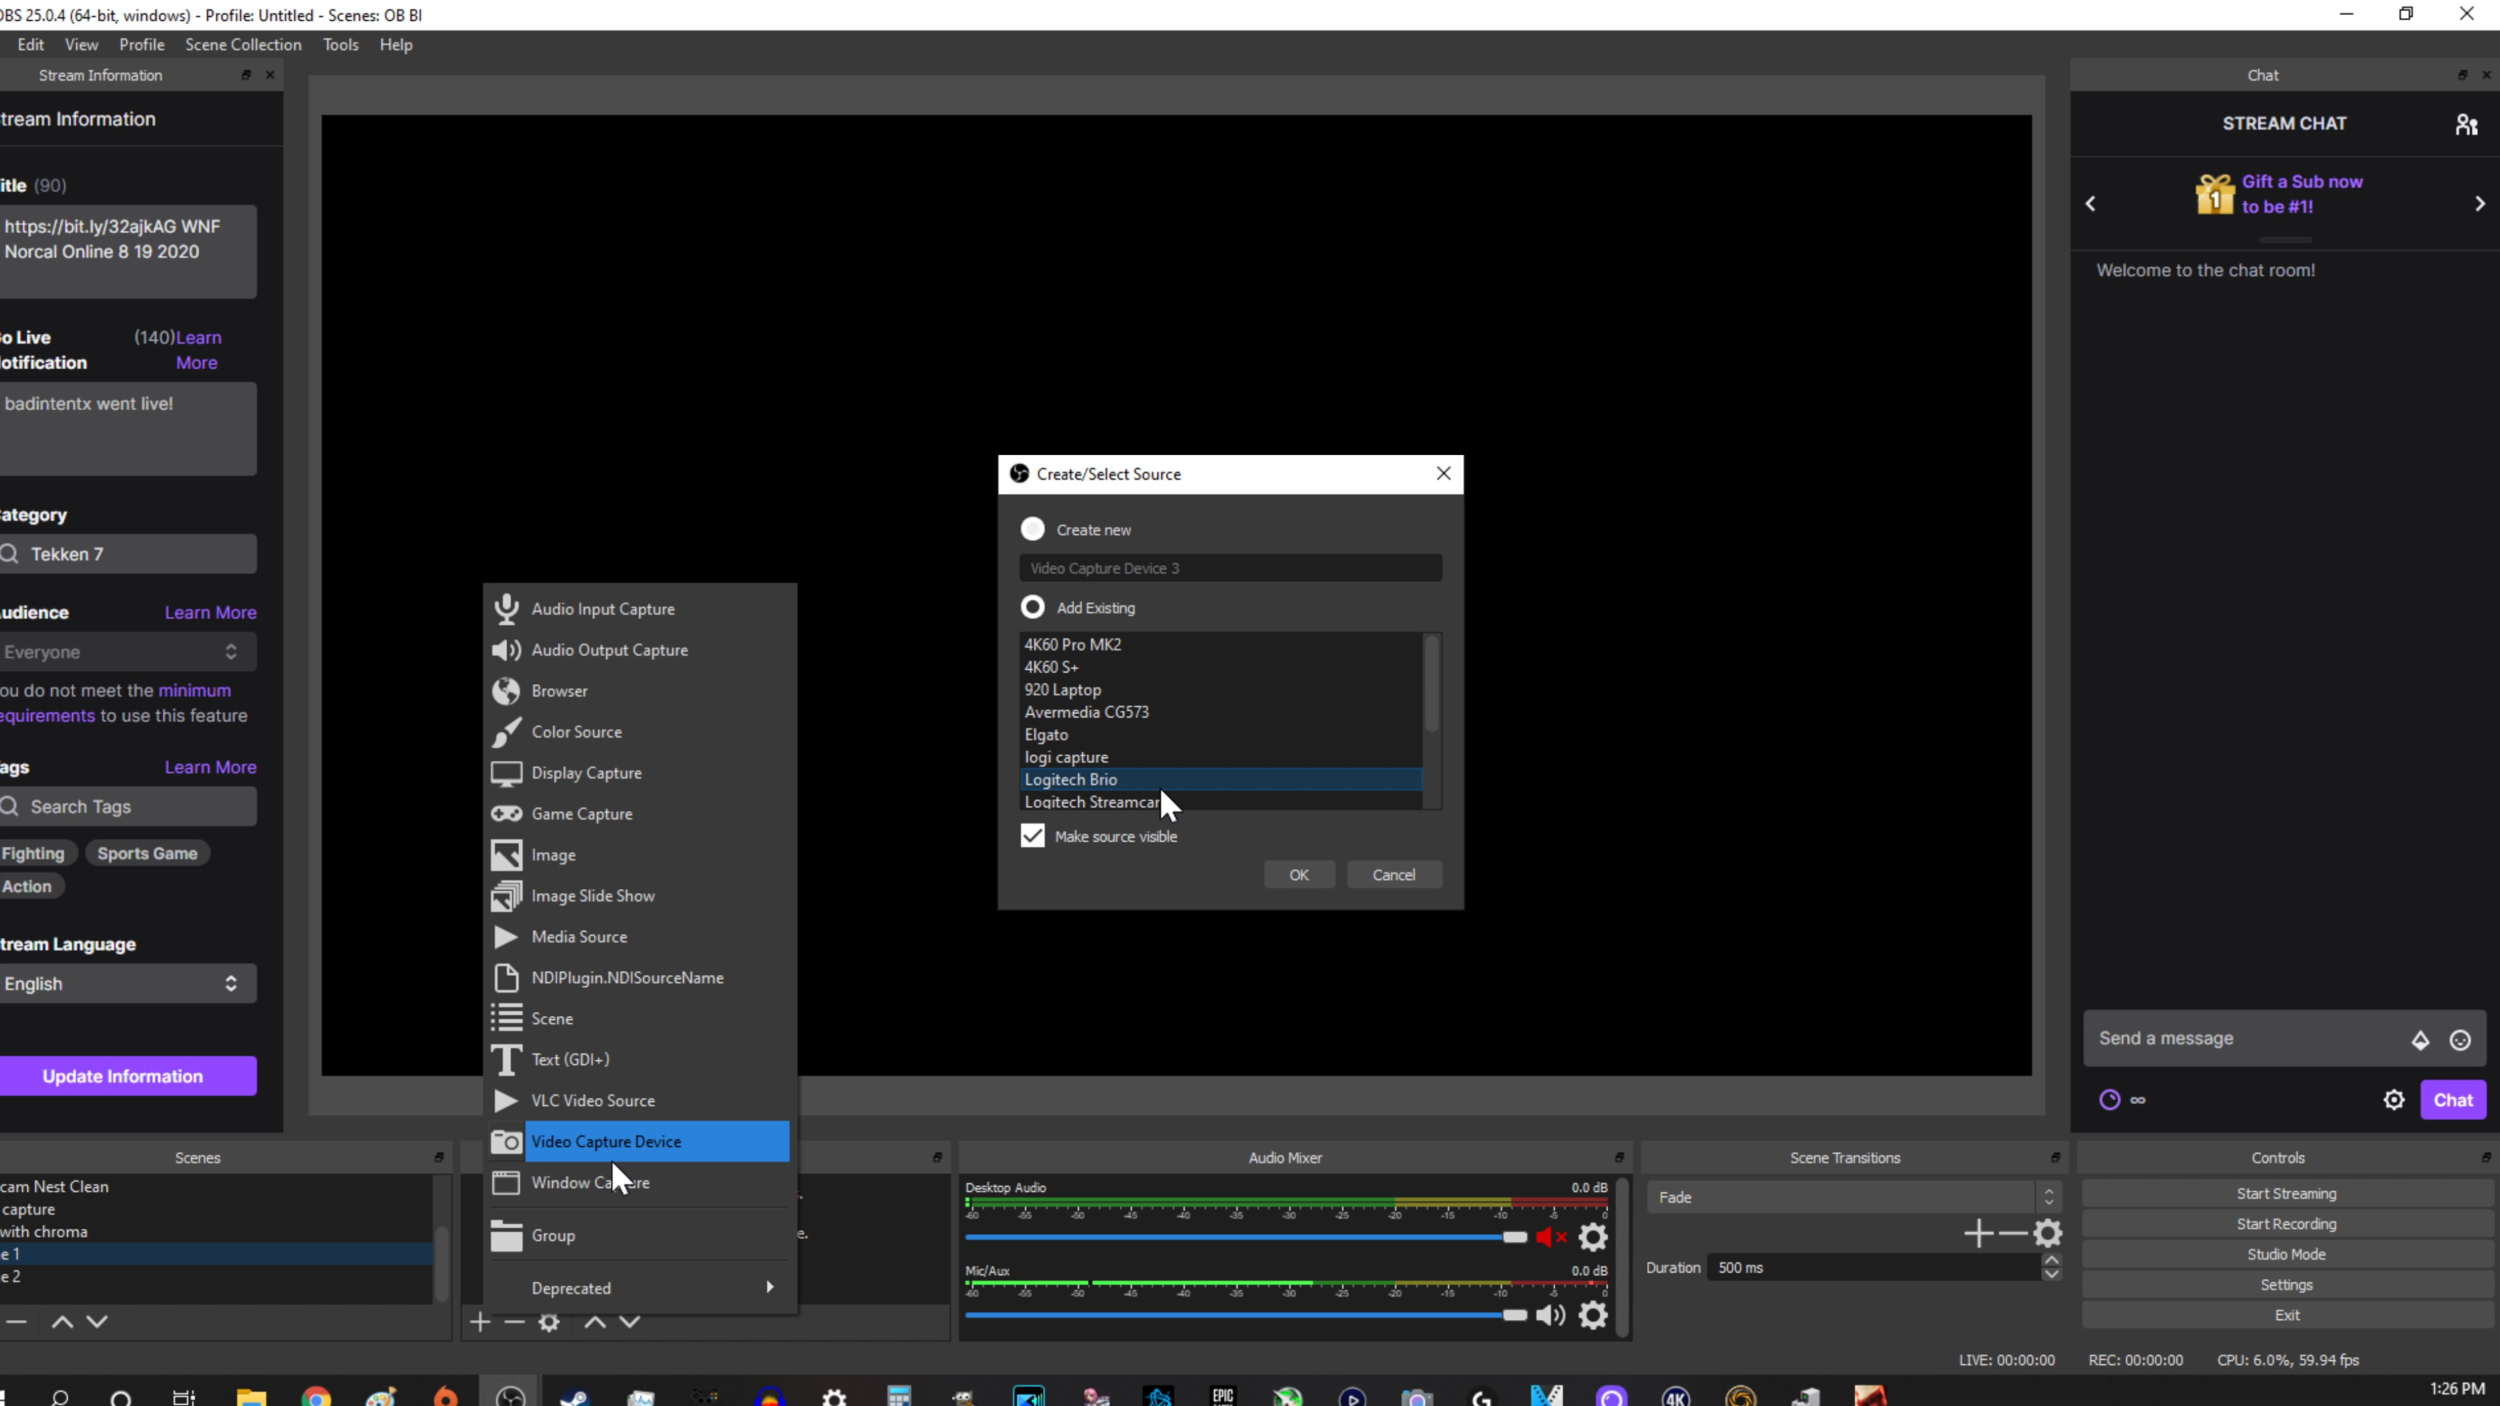
In the sources tab (next to scenes), add your webcam as a video capture device. Use the same webcam for both new scenes.
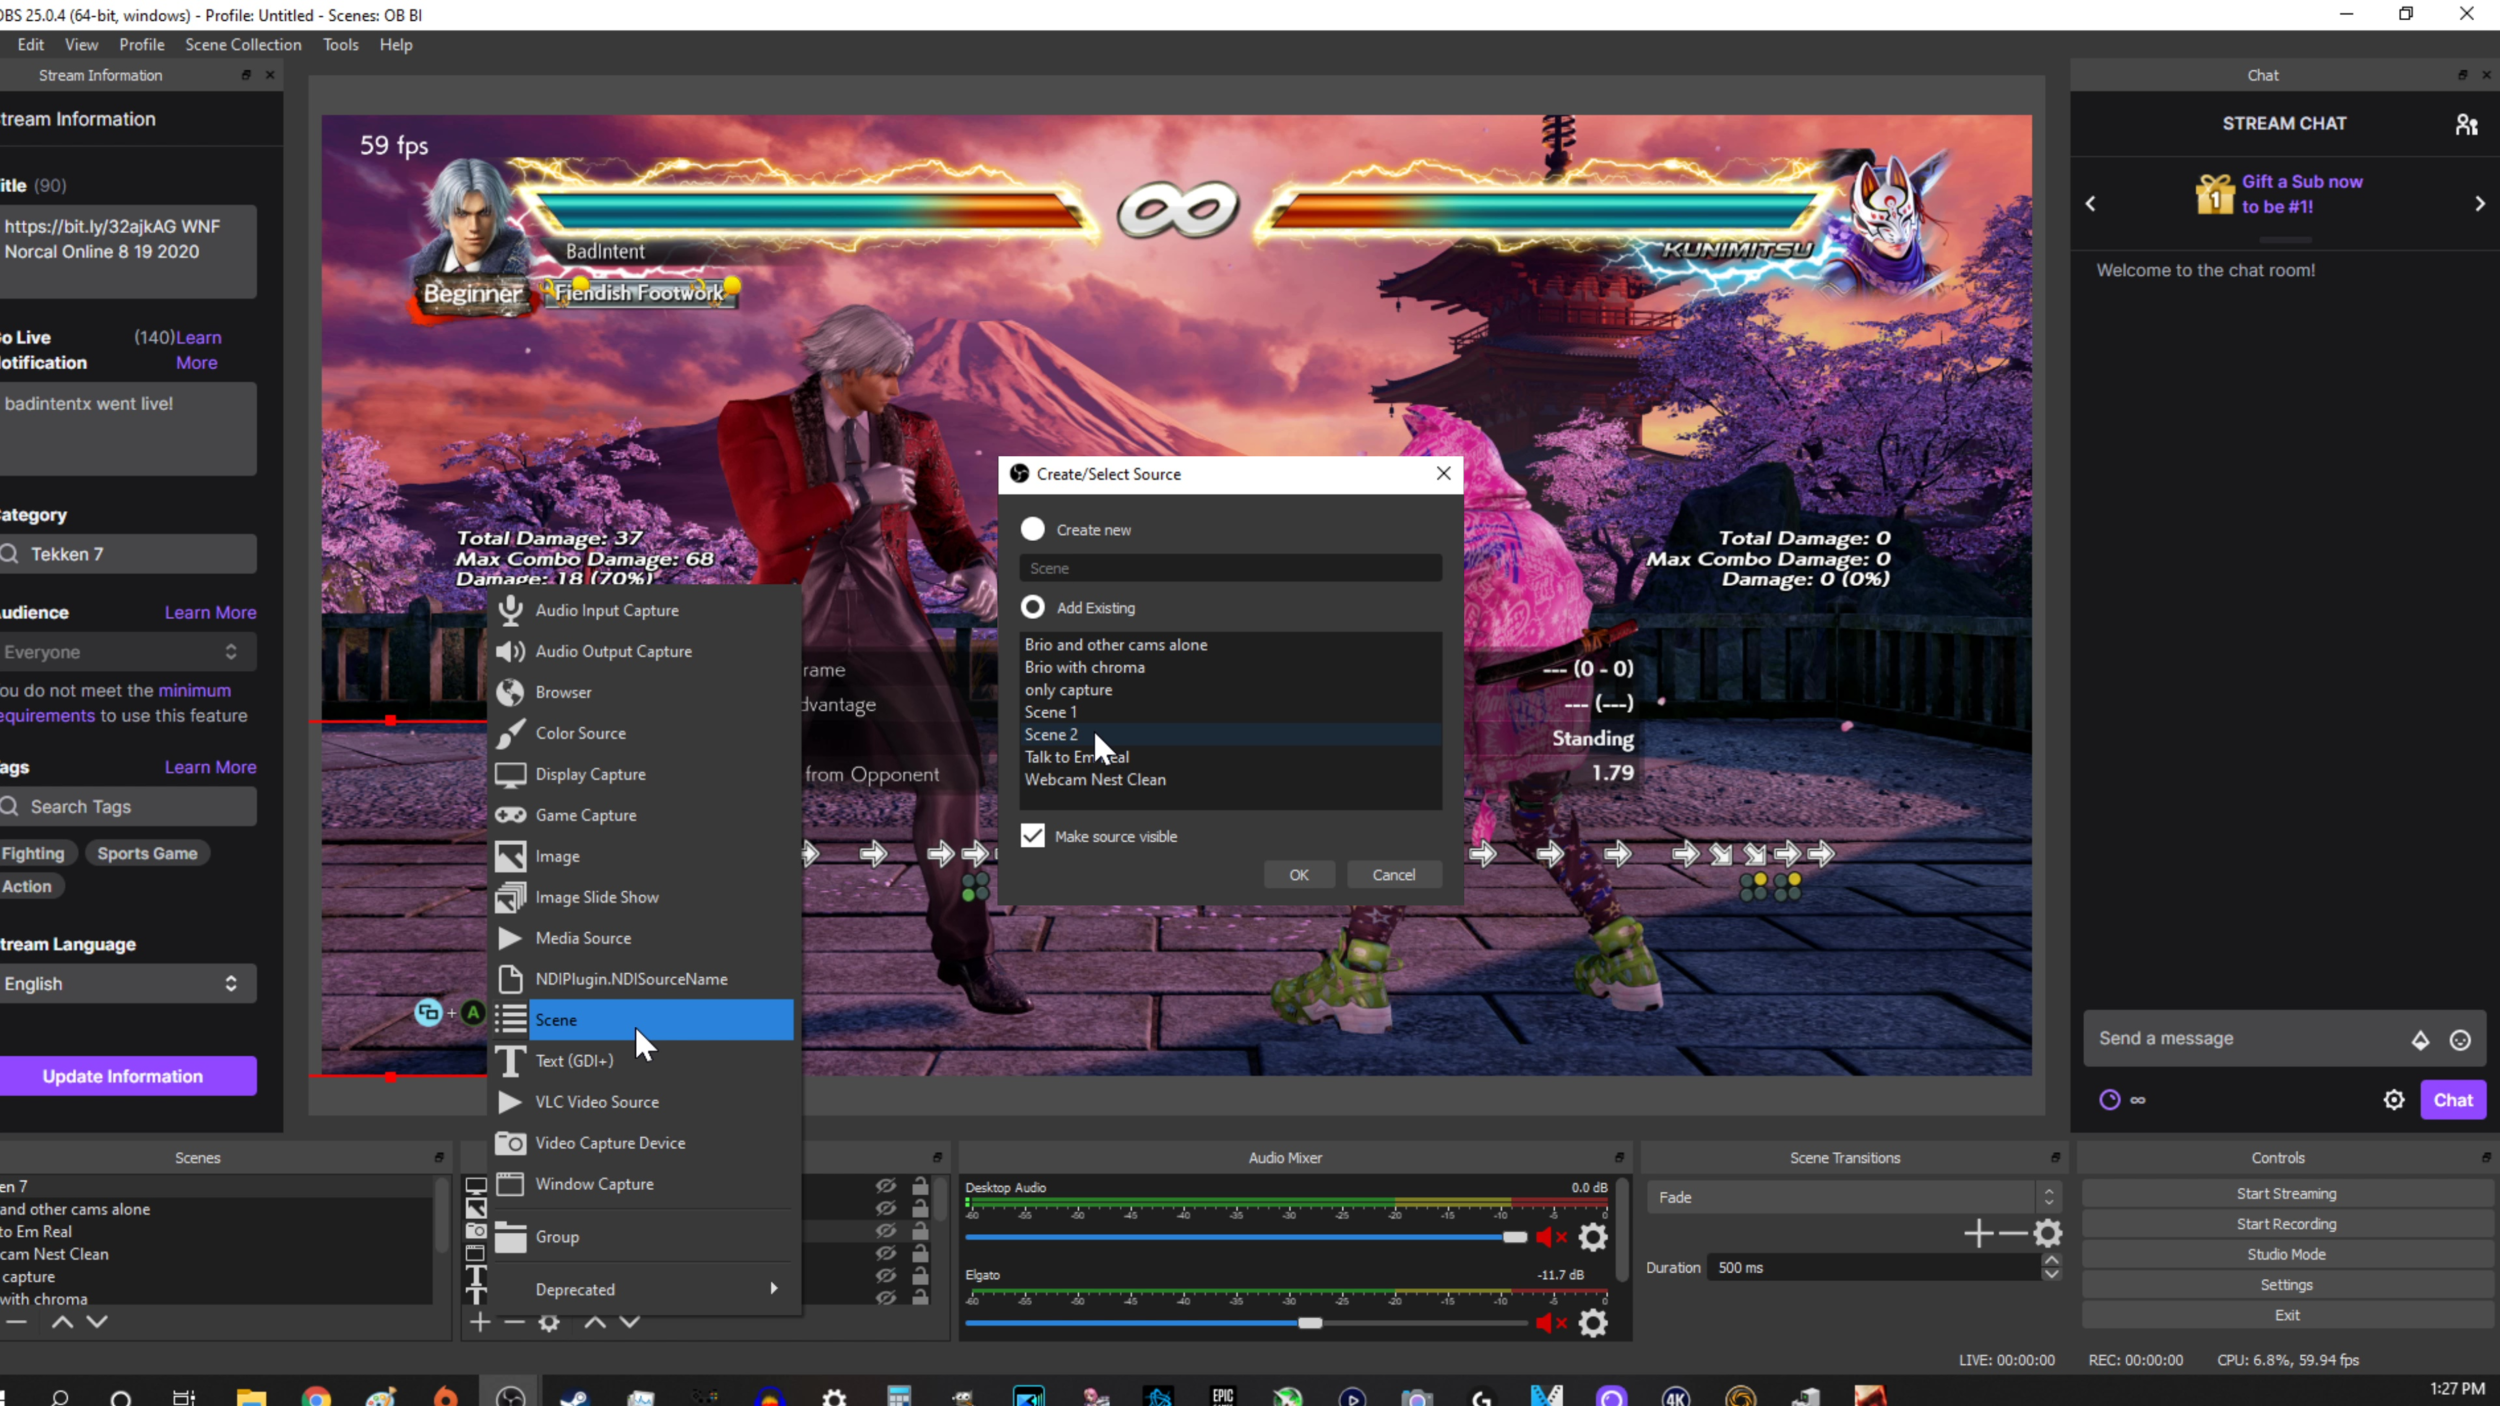
Lastly, switch ot any other scene and add Scene 2 as a source.
That’s it. At this point you have a “clean” webcam source in Scene 1, and you have one that you can add effects to in Scene 2. Any effects you apply to one will not affect the other. You can switch between scenes at any time. You can add as many new scenes with your camera source as you want. From this point forward, instead of making changes to the camera source itself, just make the change to the scene you want.
The last thing to remember is if you want to adjust your actual webcam’s settings like the exposure or white balance, you’ll now have to go to that scene separately, and from there click your webcam. These types of camera settings do apply to every scene.