
Webcams: What you need to know [Best Webcams for all Budgets]
This article contains Amazon affiliate links. As an Amazon associate I earn from qualifying purchases.

I know a lot about webcams.
- What is a webcam?
- Why use a webcam over other cameras?
- What to consider when buying a webcam
- Best webcams for all budgets
- Maximizing your webcam’s quality
- Webcam alternatives (smartphones and “real” cameras as webcams)
- Webcam FAQs
What is a webcam?
A webcam is a type of camera that is specifically designed to stream its video and audio feed to an external source like a computer rather than saving it on the device itself.
Webcams are small, compact, and clip onto the top of a monitor. They generally lack advanced hardware functions like interchangeable lenses and aperture controls, but make up for this with their ease of use and form factor. Webcams can be purchased as standalone devices that connect to a USB port to a computer, and many laptops come with webcams built into the monitor.

A popular webcam from GESMA. (It’s not good)
Why use a webcam over other cameras?
The main two reasons two use webcams are low cost and ease of use. Cheap webcams can be found for under $30, and they’re plug and play which means you don’t need to install special software or drivers - they just work. If you want to use DSLR as a webcam, you’ll often need to buy a capture card and mount it to a tripod which requires extra money and space.
For these reasons, webcams are incredibly popular (and often necessary) for those working from home to video conference with coworkers in apps like Zoom. Likewise, they are staples for remote learning for online classes. Almost all webcams have built-in microphones, so you can just plug one in, add it as a source in Zoom and be ready to go.
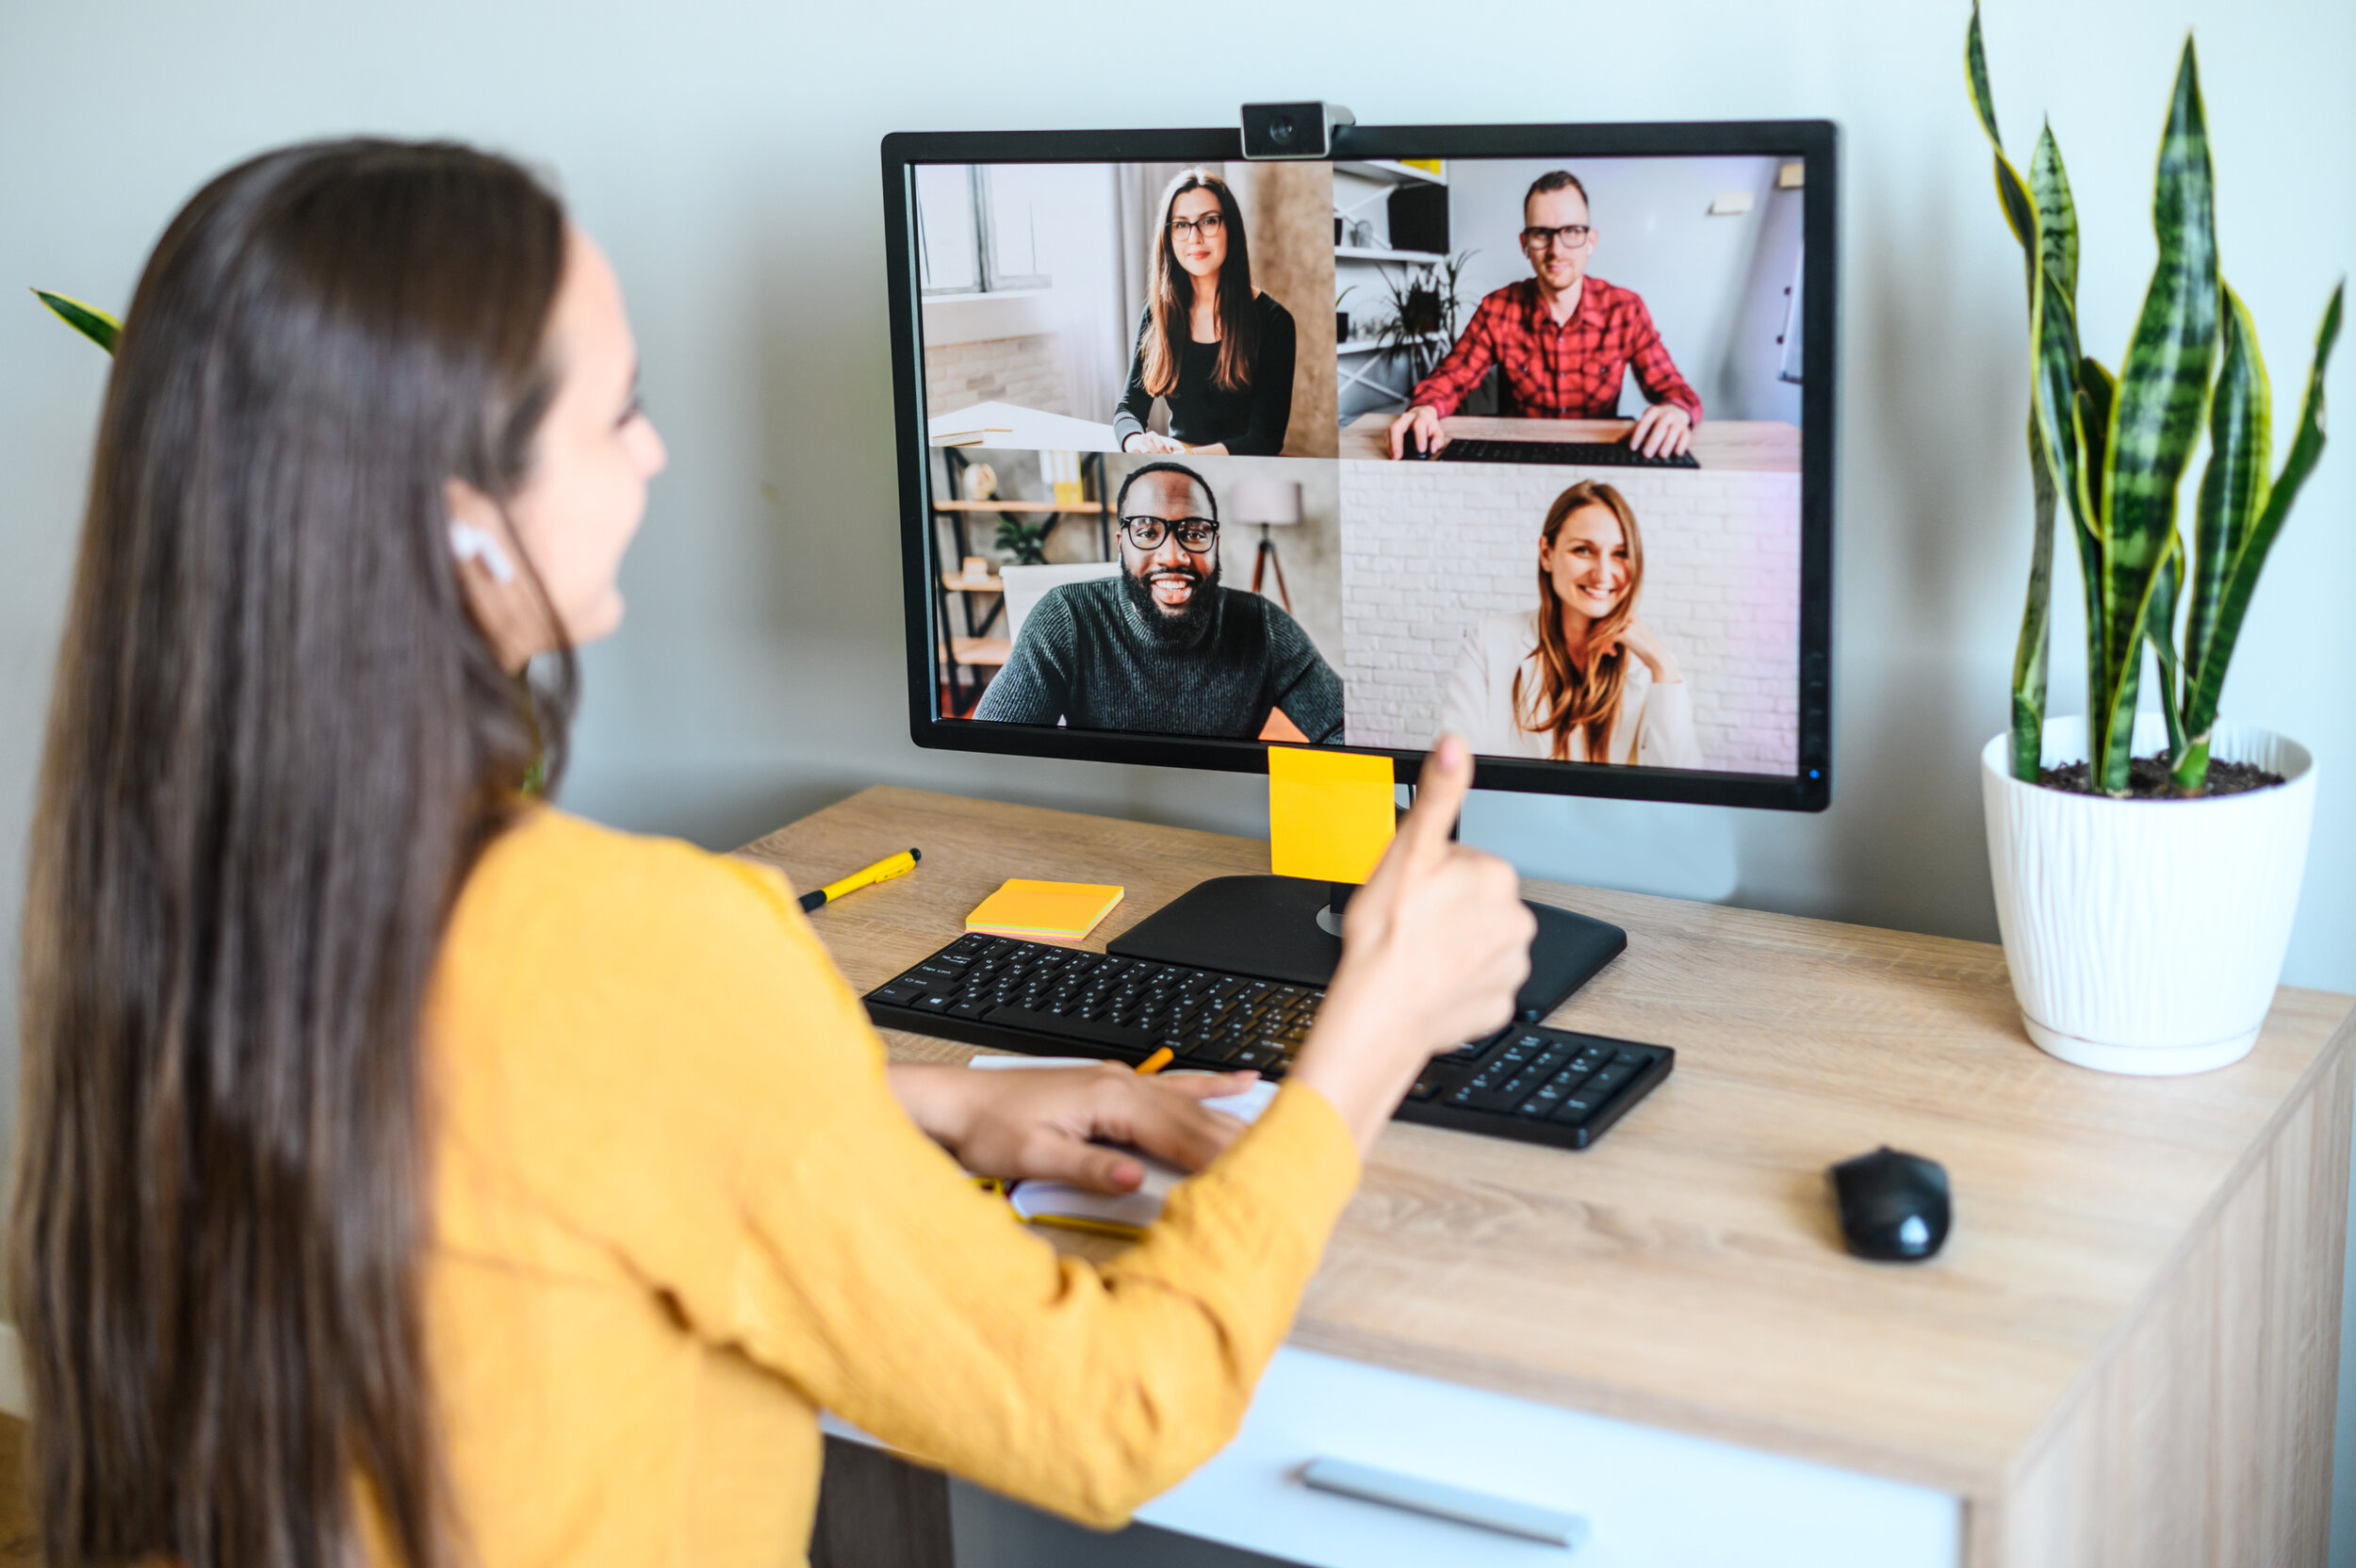
Since the coronavirus pandemic, video conferencing on Zoom has skyrocketed.
Photo 186942559 © Vadym Pastukh | Dreamstime.com
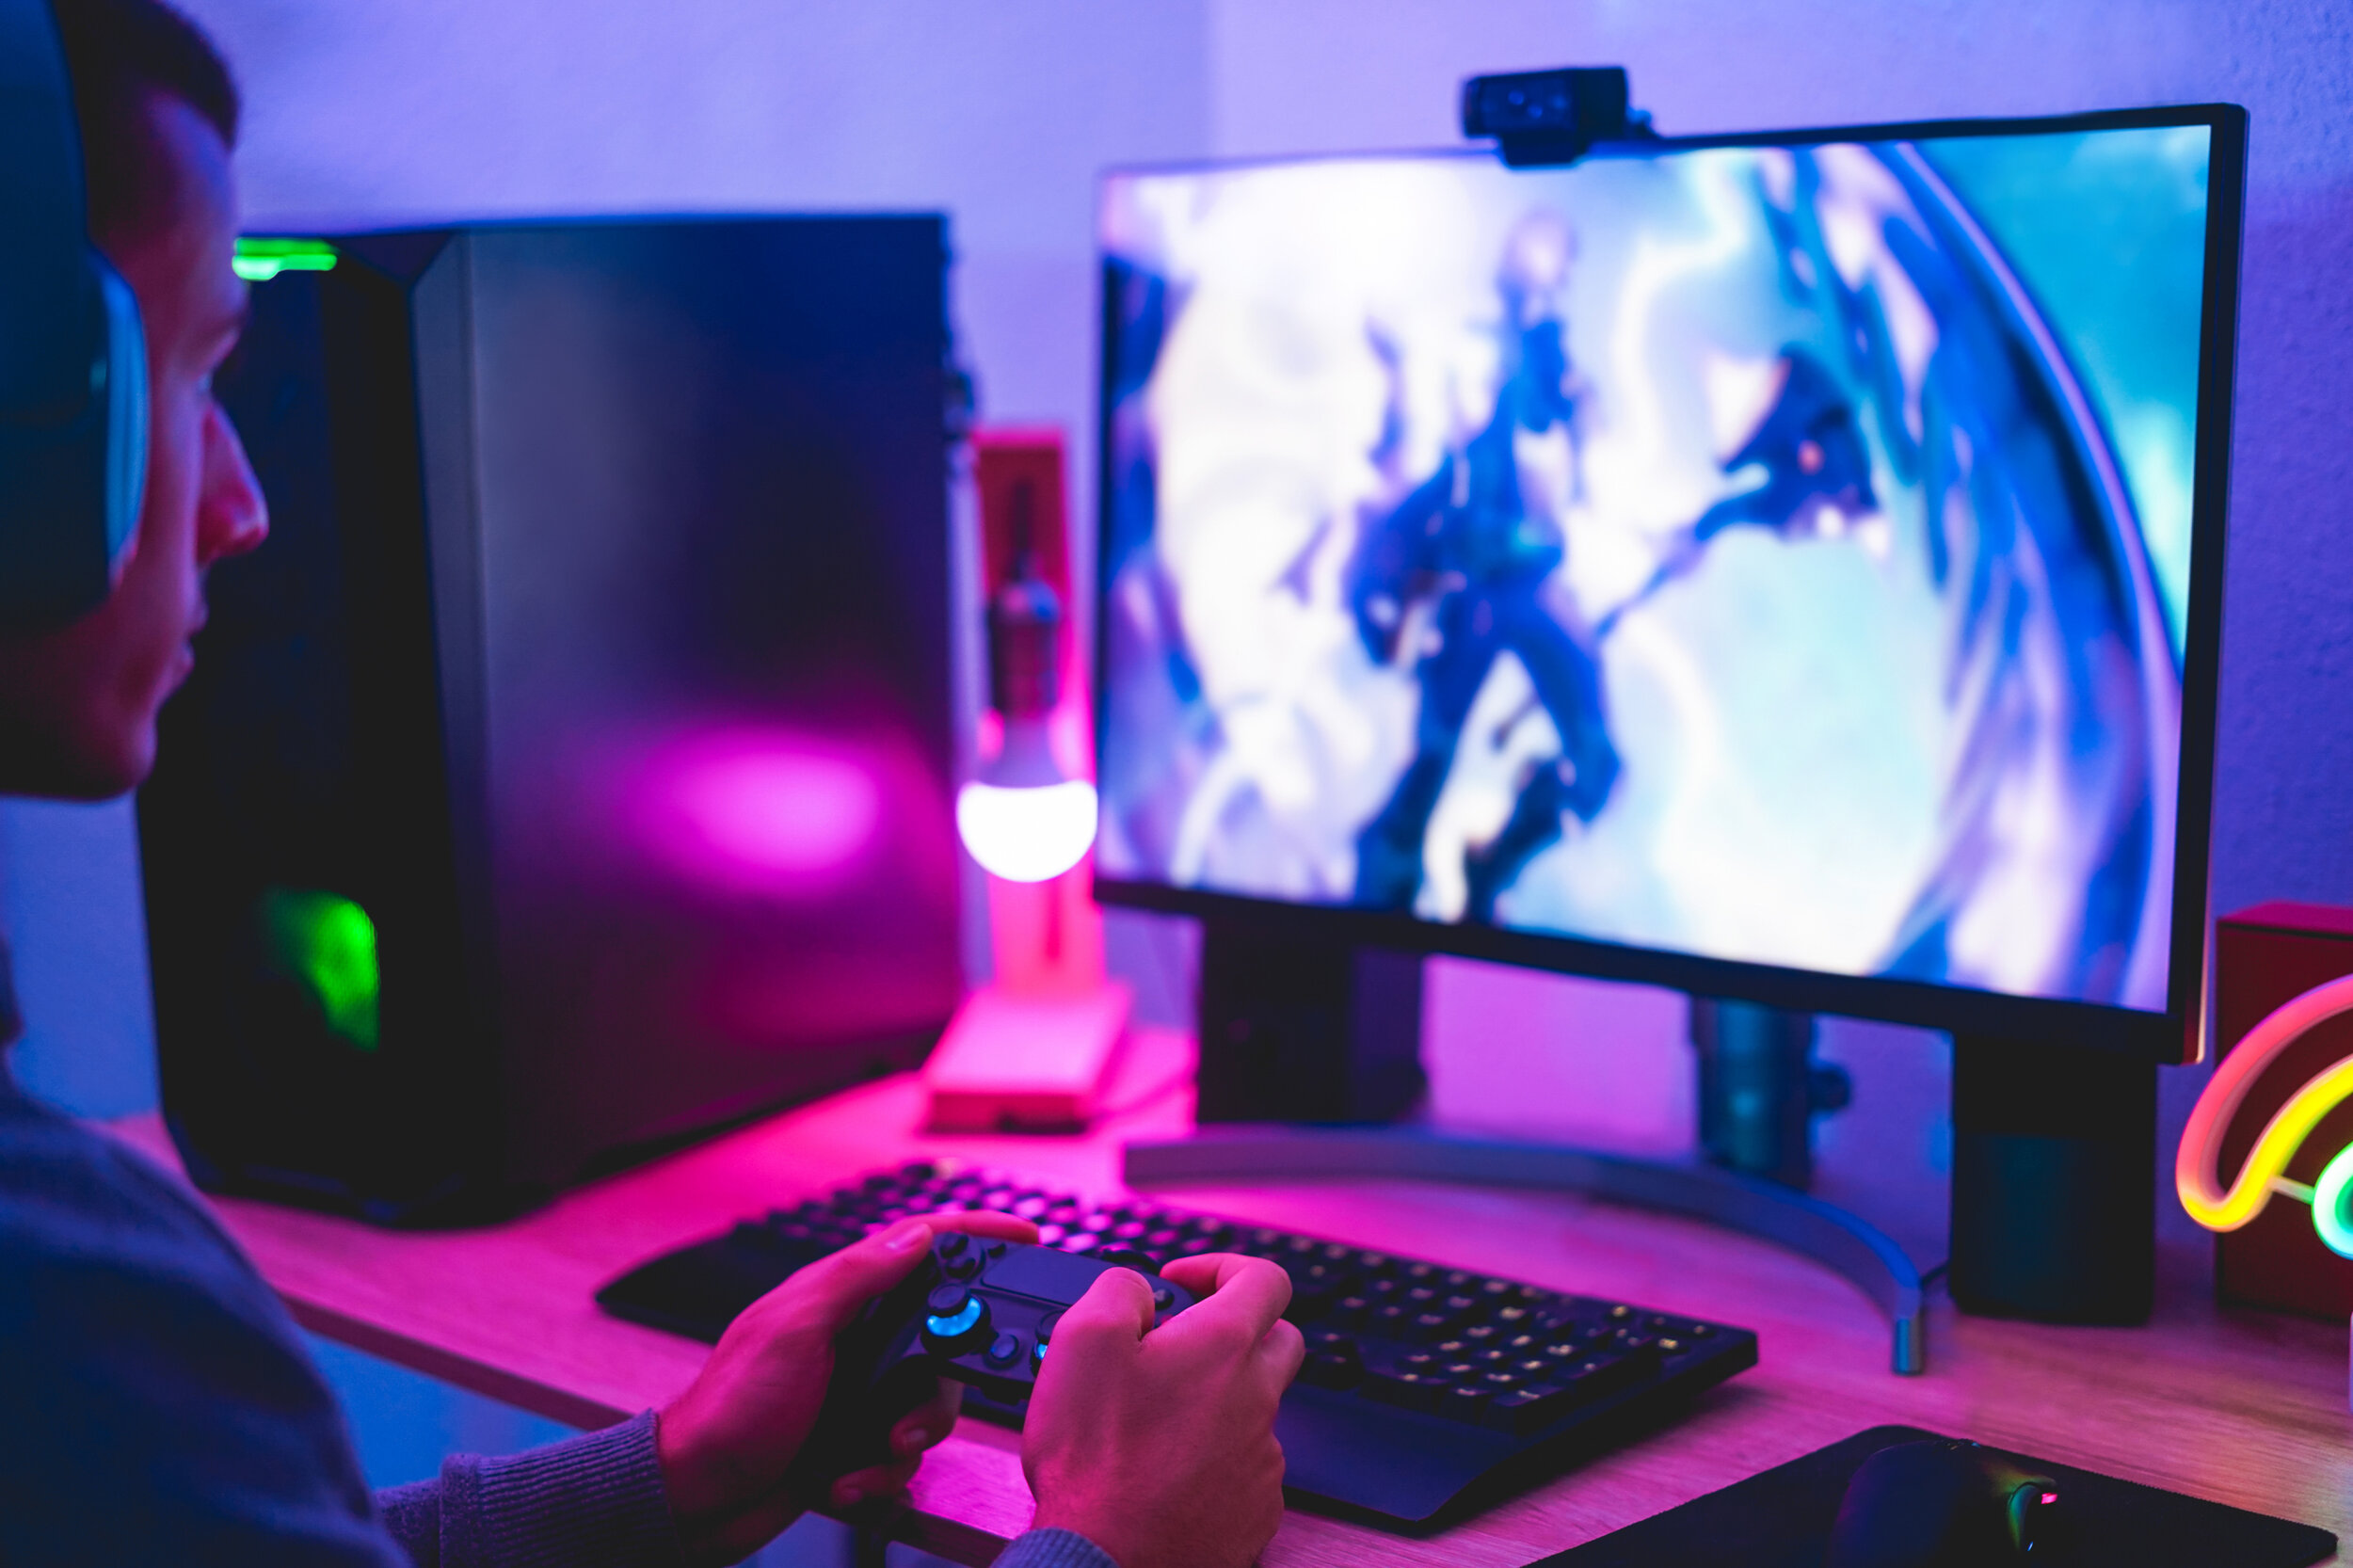
Webcams are ubiquitous with Twitch streamers.
Photo 203784878 © Niccolo Pontigia | Dreamstime.com
Webcams are also used by Twitch streamers, YouTubers, and other content creators. Even though they can’t match the quality of a $1000 DSLR, they don’t match the price of them either! Conventional comeras also are more complex to setup for streaming and mastering the settings of a DSLR can be a difficult learning curve.
Lastly, webcams can be used as part of home monitoring systems. However, the remainder of this article is going to focus on conventional webcams for video conferencing and content creation.
What to consider when buying a webcam?
The main factors that differentiate different webcams are:
- Price
- Frame rate and resolution
- Color accuracy
- Connection type
- Software and settings
I’ve broken down each of these attributes in detail, but scroll down to the next section if you just want to know which webcams I recommend based on these.
Price
Why are webcams so expensive? Simply put, the pandemic has forced most people to work and learn from home, causing a sharp increase in demand for webcams and a massive decrease in supply. Manufacturing facilities were also shut down for a significant period of time in mid 2020.
As a result, webcam prices have skyrocketed over the last year. For example, I purchased my Logitech C920, Brio, and Streamcam for $50, $150, and $170 each. Since April of 2020 however, webcams have been being sold scalpers online for over $300!
With this in mind, I’ll list the price I purchased each of my devices for to give an idea of what you should be paying, so you don’t get ripped off too hard. Click the Amazon links next to each webcam near the bottom of this review to see their current list price.
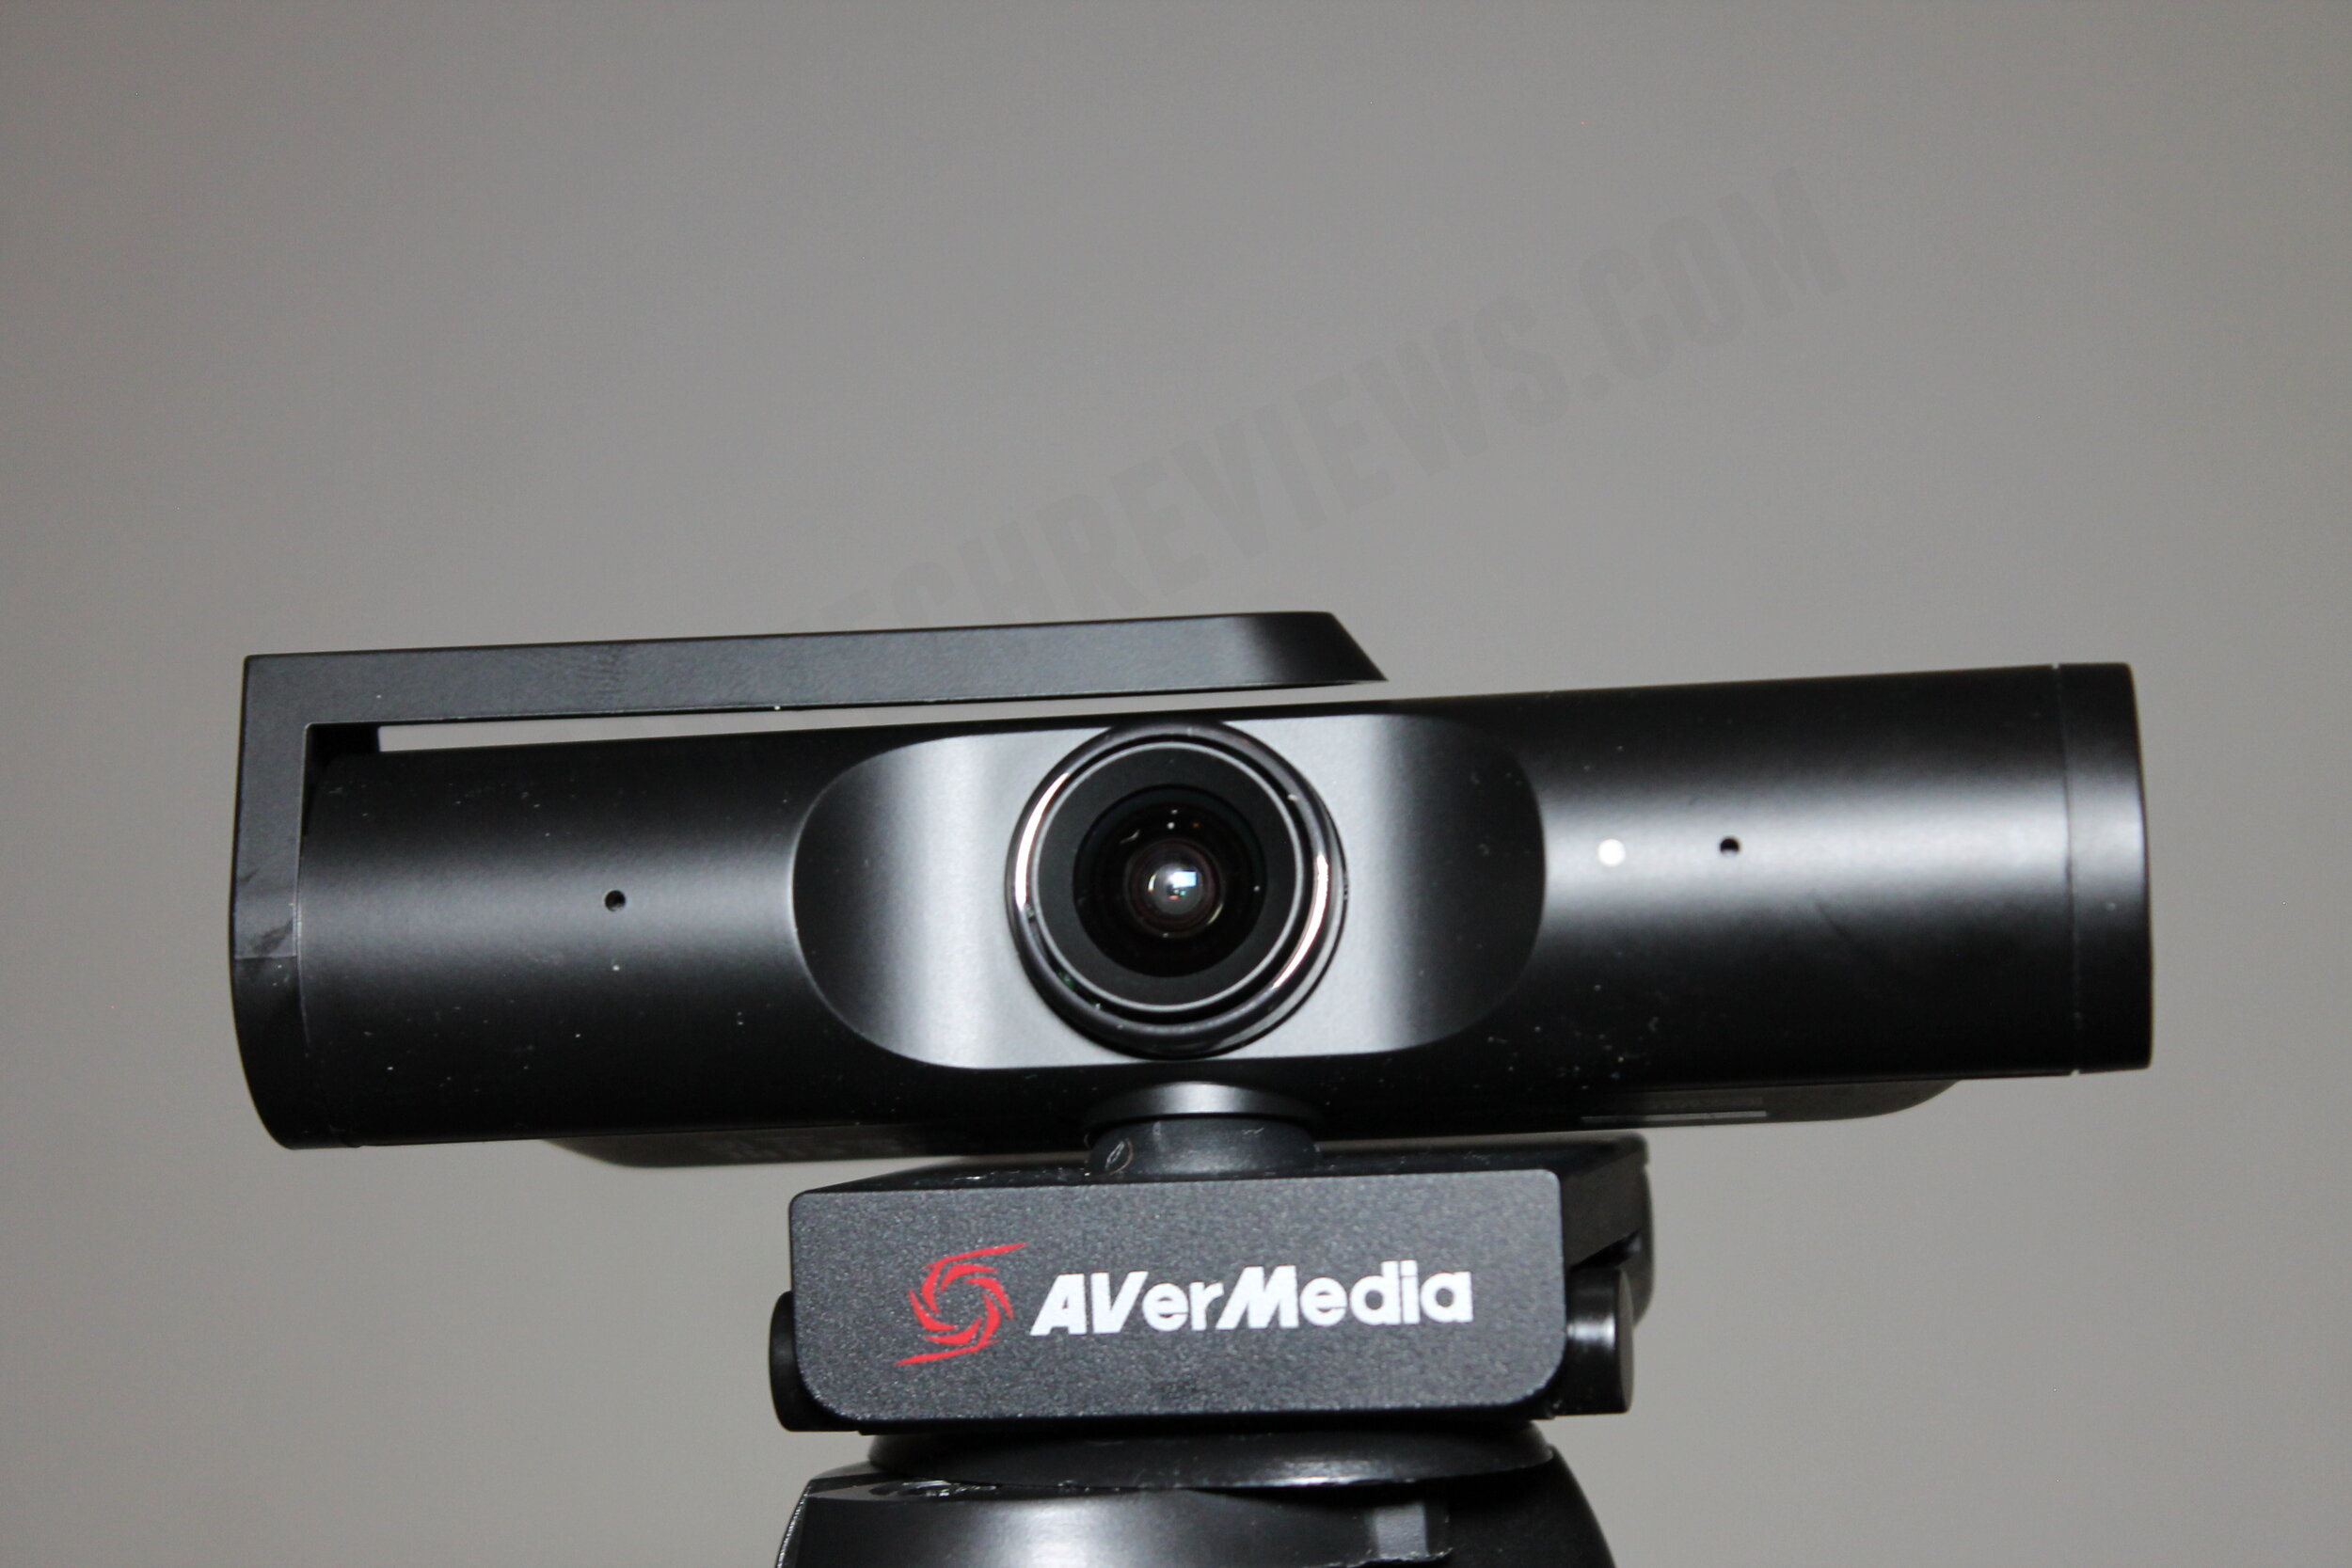
The AverMedia PW513 launched with a $250 price tag. That’s crazy.
Resolution and Frame Rate
The best webcams on the market currently max out at 4K 30 frames per second or 1080p 60 FPS. If you’re using your webcam for Zoom calls or overlaying it onto your Twitch gameplay, 1080p 30 FPS is sufficient. Anything less than that and your image will look soft (low resolution) or choppy (low frame rate). If your goal is full time content creation or if you’re a “just chatting” streamer where your face will be full screen, I suggest getting a webcam that can do 4K.
Keep in mind that a higher resolution does not automatically mean better quality. Resolution is just the amount of pixels the camera will record and output. Webcams of equal resolution can drastically vary in quality. I’ve compared some of the best webcams with side by side video and screenshots in an article so you can see what I mean.

Both of these webcams do 1080p 30 FPS but their image quality isn’t even close.
Color Accuracy
Most webcams have decent color reproduction. Even the ones that look oversaturated or too cool by default can be easily adjusted by changing the white balance in a few seconds. If accurate colors are an absolute must (for example if you do makeup tutorials) and you don’t want to do any color correction in post, here are a few outlier webcams to be aware of:
- Logitech Streamcam (Amazon). This webcam has the best color accuracy of any device I’ve used, although the overall sharpness of the image is just okay.
- Logitech Brio. The Brio looks pretty good when you manually adjust the white balance. It’s still got some extra yellow going on and if you leave it on auto, the reds, oranges, and yellows can get out of control.
- AVerMedia PW513. Avoid this device if you care about color accuracy at all. Pretty much every color on it is just wrong no matter how much you tweak the white balance, hue, and saturation.
- Super cheap webcams. Most webcams under $50 seem to have completely out of wack colors.
The following shots are with the exact same lighting, in the same shoot. The only difference is I changed shirts.

Logitech Streamcam

Logitech Brio

AVerMedia PW513
Connection Type
Webcams almost universally connect to computers with USB cables, though there are some outliers that also have an HDMI port. The main connection types are USB 2.0, USB 3.0 and USB type C. In general USB 3.0 ports are compatible with USB 2.0 cables with rare exceptions.
Just make sure you have the correct ports on your device to be able to connect your webcam. New Macbooks have been forgoing USB 2.0 and 3.0 and only have lighting ports. For these you’ll need a webcam with USB type-C or you need an adapter. The same applies if you have a USB 3.0 port but not a type-C port. I’ll list how each individual device connects in the next section.

USB 3.0 cable.
Photo 183778761 © Batuhan Toker | Dreamstime.com
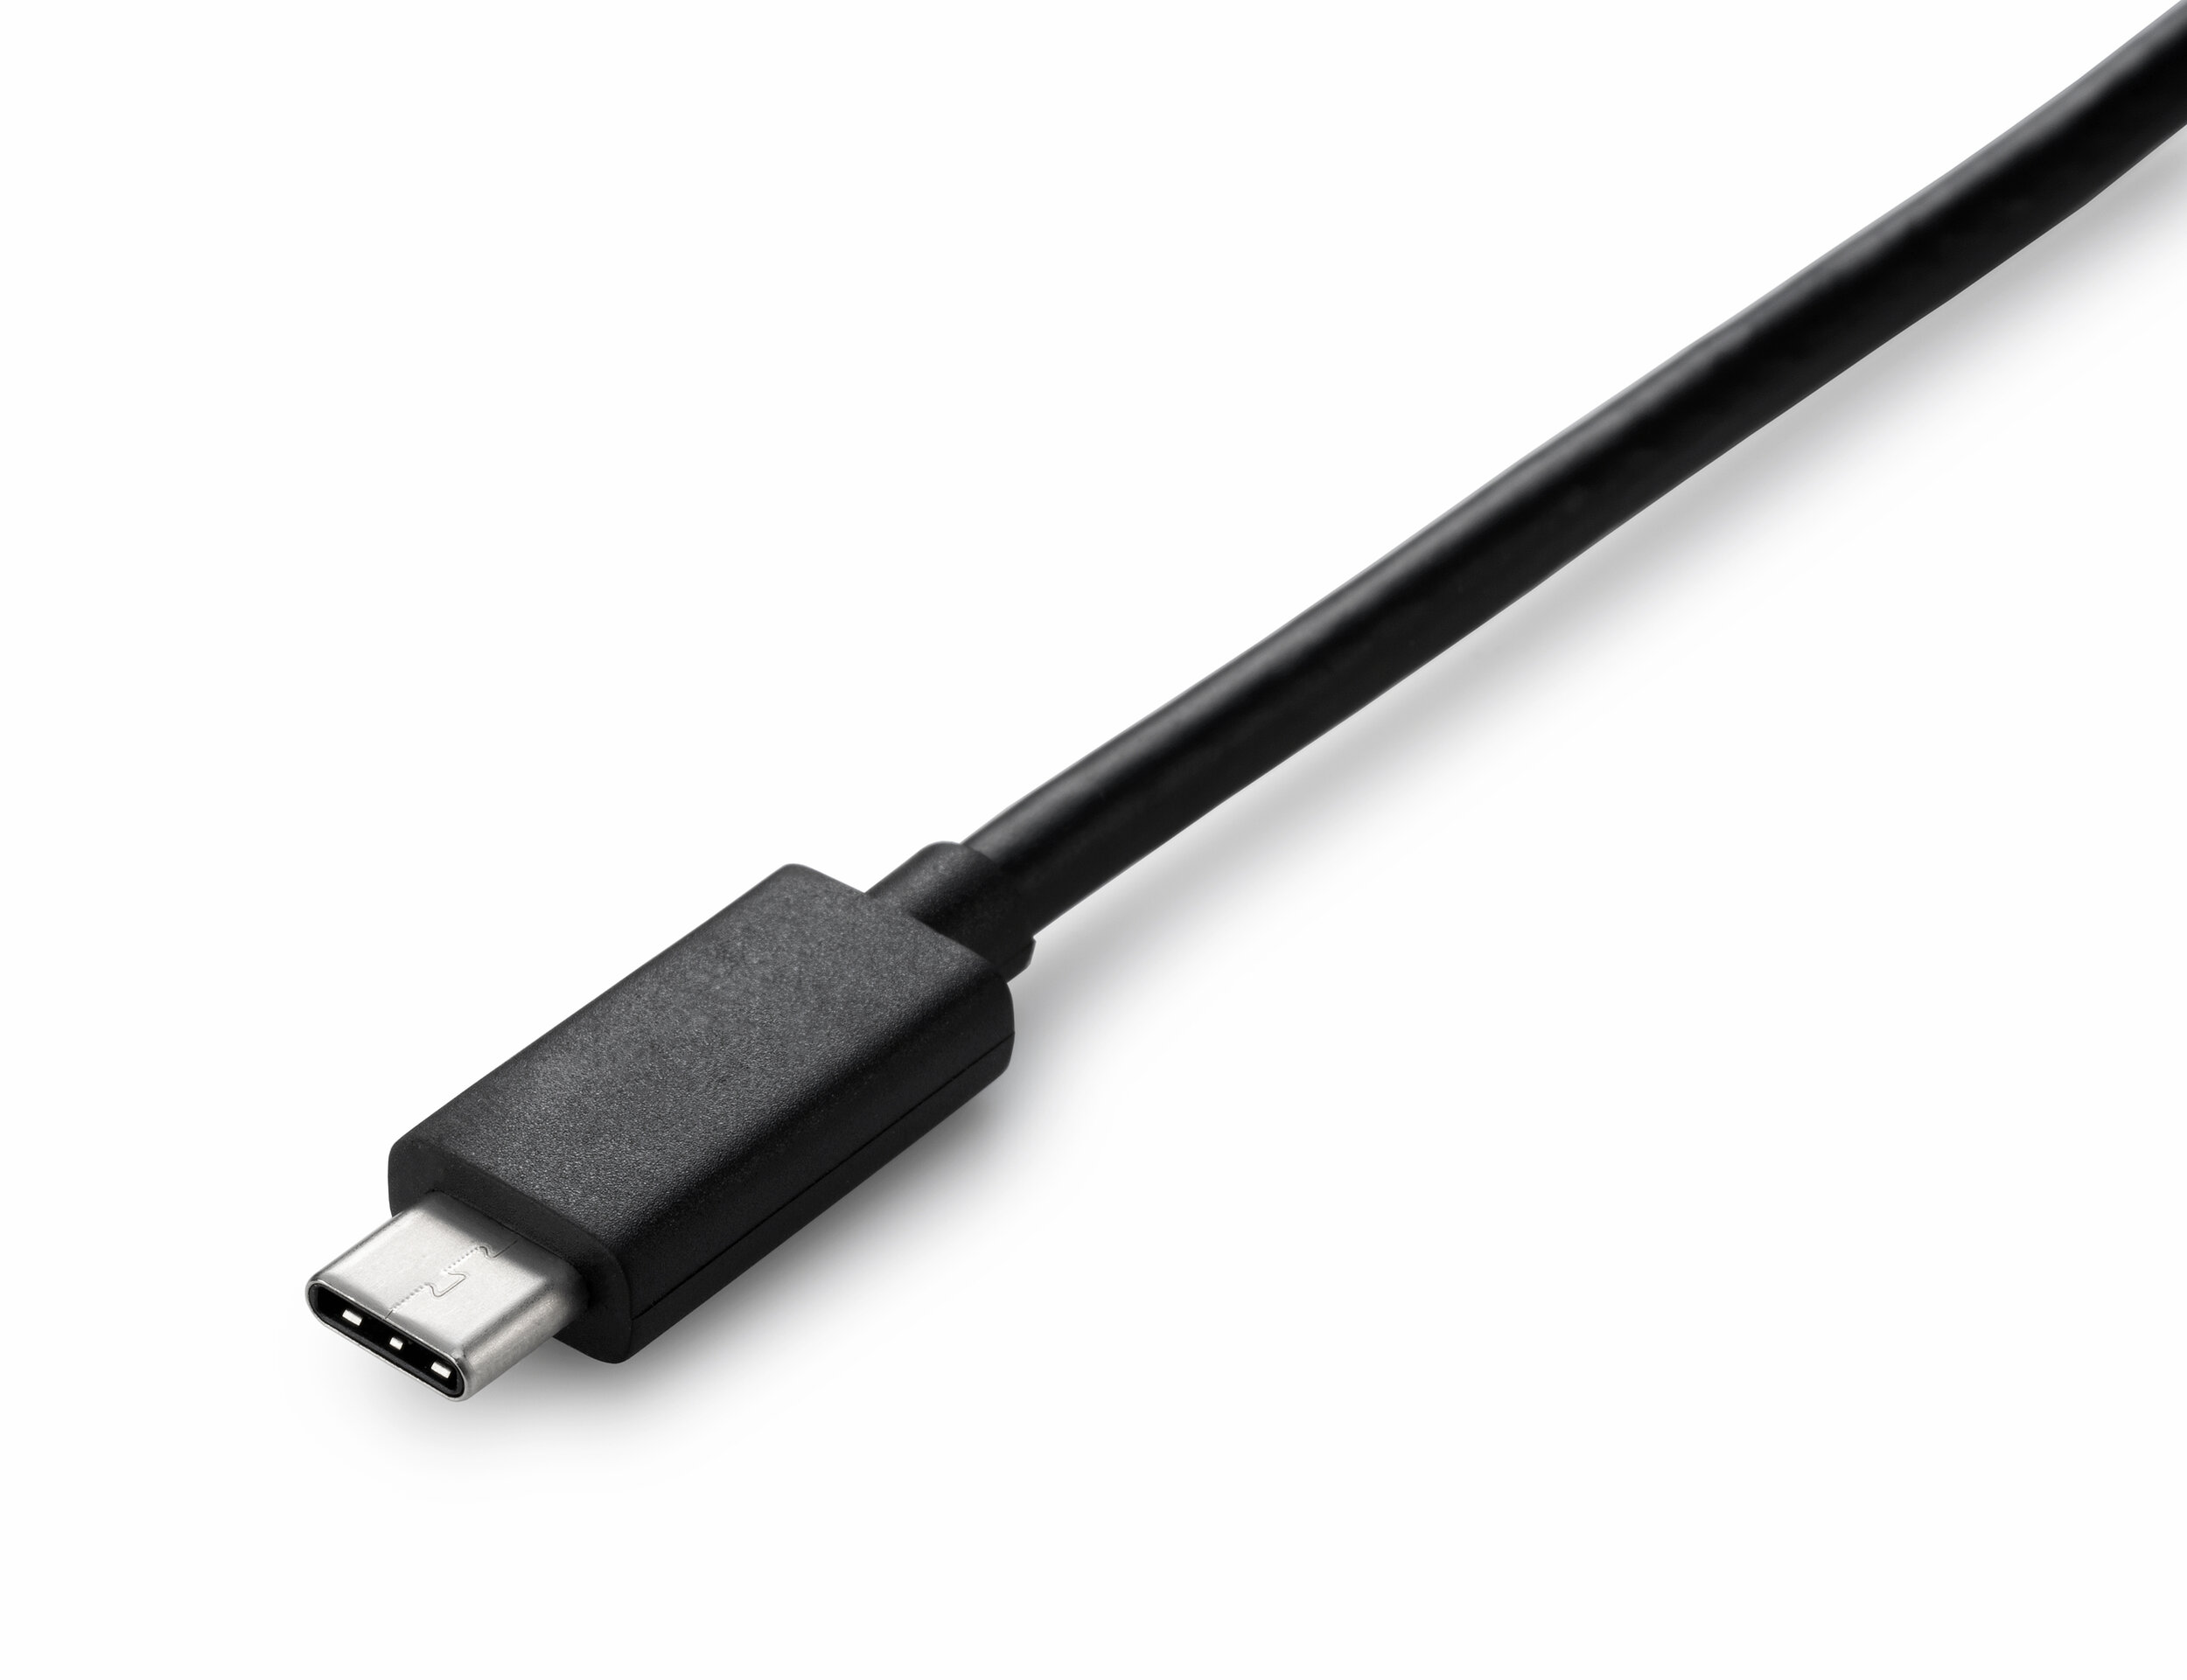
USB Type C cable.
Photo 181389877 © Sai0112 | Dreamstime.com
Software and settings
Webcams are generally plug and play, but their image quality can be optimized with software. This can be done using free software such as OBS, but certain features may be limited to the manufacturer’s native software. For example, this GESMA webcam I bought on Amazon can’t have its exposure adjusted at all. In addition it has no software focus (it’s done with a physical lens). Knowing what settings you’ll be able to adjust unfortunately isn’t advertised, but if there are any major settings that cannot be adjusted, I always make that known in my reviews.
Another instance of software being important is remembering settings. Most webcams have all their manual settings like exposure and white balance reset whenever they are unplugged or after a system reboot. With native software such as CamEngine from AVerMedia, settings can persist beyond a reboot.
Currently, the only real way to know if you’ll be getting decent software and settings is to just search X camera settings or Y camera native software to see what others have posted. But you’ll be glad you did.
Adjusting the Logitech C920 settings in OBS Studio.
Audio
Noticeably absent from this list is microphone quality. Of all the webcams I’ve tested, I’ve never used one with acceptable audio quality. They all technically have functioning mics, but none of them are good, and I recommend supplementing them with a USB mic if you care about sounding decent over Zoom or other platforms. A few high quality USB mics I’ve reviewed are below (links to my reviews):
Best webcams for all budgets
Webcams are one of my areas of expertise, so I’ve created a deep dive comparison of some of the best overall webcams. For the quick version, these are the ones I recommend with sample images and video included.
Best overall webcam: Logitech Brio

Logitech Brio 4K UHD Webcam.
Image taken with Logitech Brio + Elgato Ring Light.
The Logitech Brio (Amazon) can do 4K 30 FPS and 1080p 60 FPS. It requires a USB 3.0 port to do so. At USB 2.0 it’s limited to 1080p 30 FPS. The Brio is one of the best performing devices in moderate lighting conditions (daylight only). With studio lighting, it’s the best webcam on the market. Here is my review of the Logitech Brio.
The Brio’s main flaw is the same one that other webcams pushing this many pixels have: at 4K there’s sometimes a slight delay between the time you move in real life and when you see it in your streaming software preview window. The result is desynced audio and video. This can be solved by adding an audio offset in OBS, adjusting in a video editor, or just using a lower resolution than 4K for things like video conferencing.
Best value to performance webcam: Logitech C920
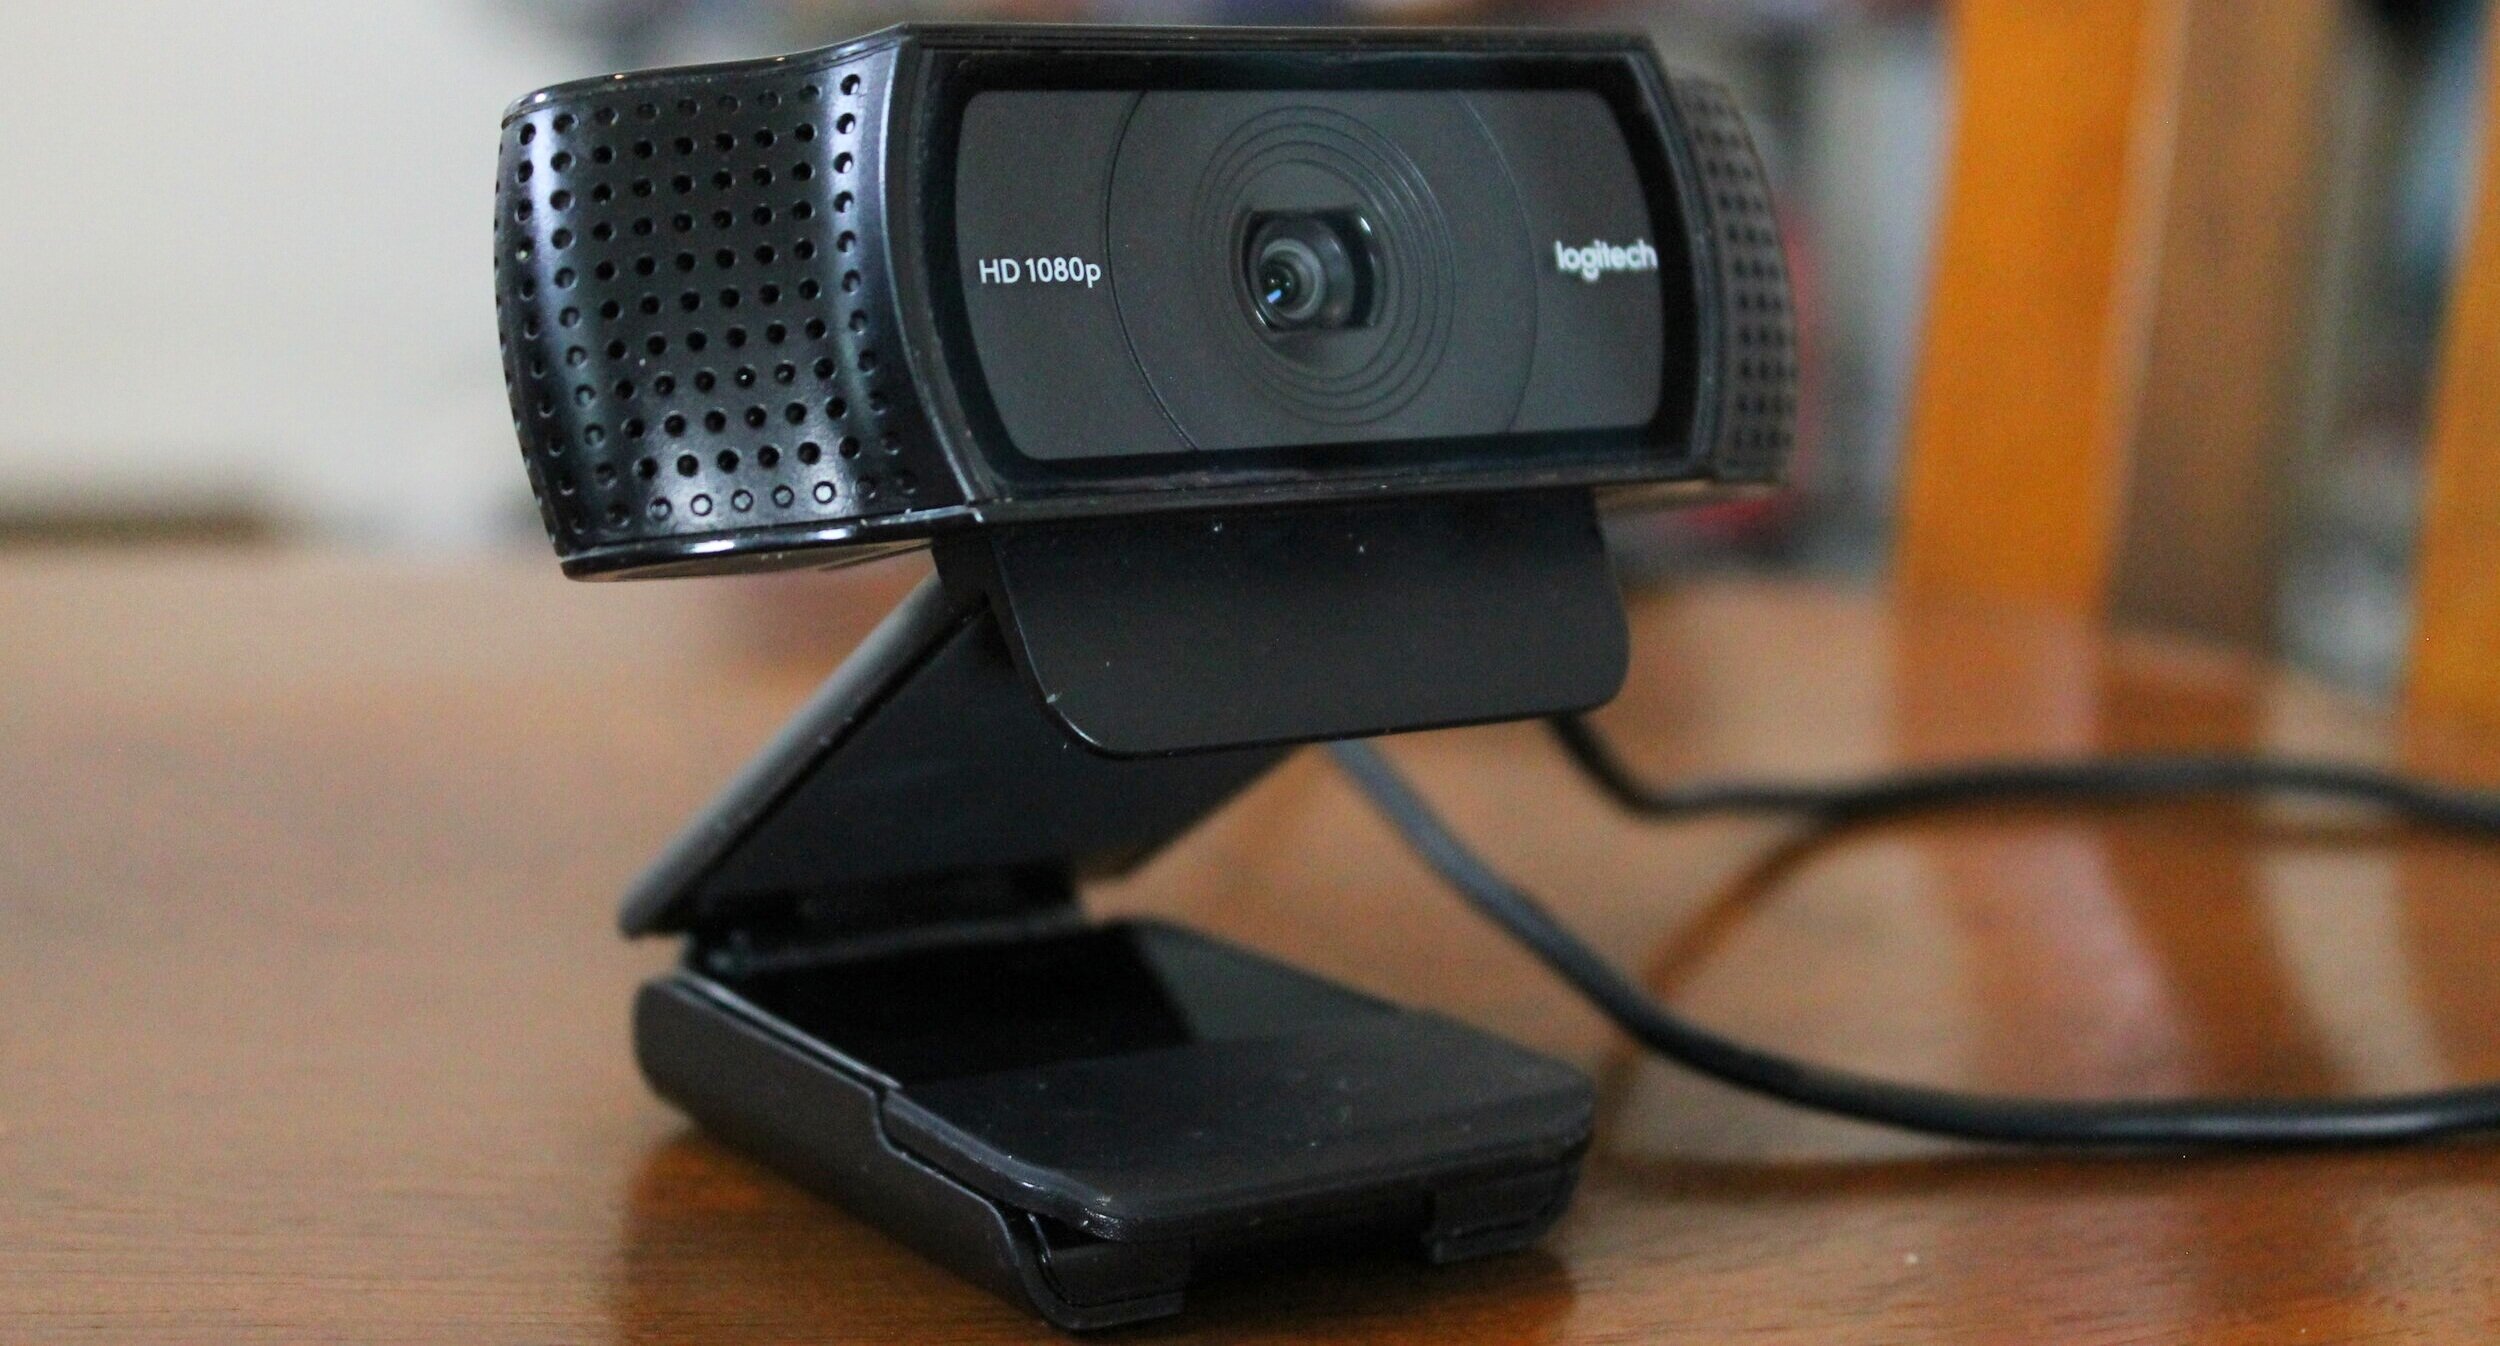
The most popular webcam of all time, the Logitech C920.

Image taken with Logitech C920 + Elgato Ring Light, Limostudio LMS103, and 2 backlights.
The Logitech C920 (Amazon) is the best webcam for daily use such as Zoom. It hits the perfect balance of price and performance, which is why it’s still the most commonly used webcam by streamers almost a decade after its original launch. The quality of the 1080p 30 FPS image doesn’t exactly impress by today’s standards, but with a mastery of lighting and camera settings, it can rival devices 2-3 more times as expensive. Here is my review of the C920. This uses a USB 2.0 cable, but is compatible with 3.0 ports too.
Best cheap webcam: Nexigo N930AF

Nexigo N930AF Webcam.

Image taken with Nexigo N930AF + Elgato Ring Light, Limostudio LMS103, and 2 backlights.
If you’re on a budget, there are many off-brand options just to get you by. One of the best selling cheap webcams on Amazon is the Nexigo N930AF. It’s not exactly good, but we’re saving cash. It’s 1080p 30 FPS and uses a USB 2.0 cable that also works with 3.0 ports. Imagine a C920 but everything about it is a bit worse. That said, the Nexigo is functional if you really need something in a pinch.
There’s one caveat about this webcam I should mention - the autofocus ironically didn’t work at all for me. You can adjust it manually, but that’s important to know before you buy. Here is my review of this webcam.
If you intend to get a device for content creation, I think the C920 is about as low as you can get while still having acceptable quality.
Maximizing your webcam’s quality
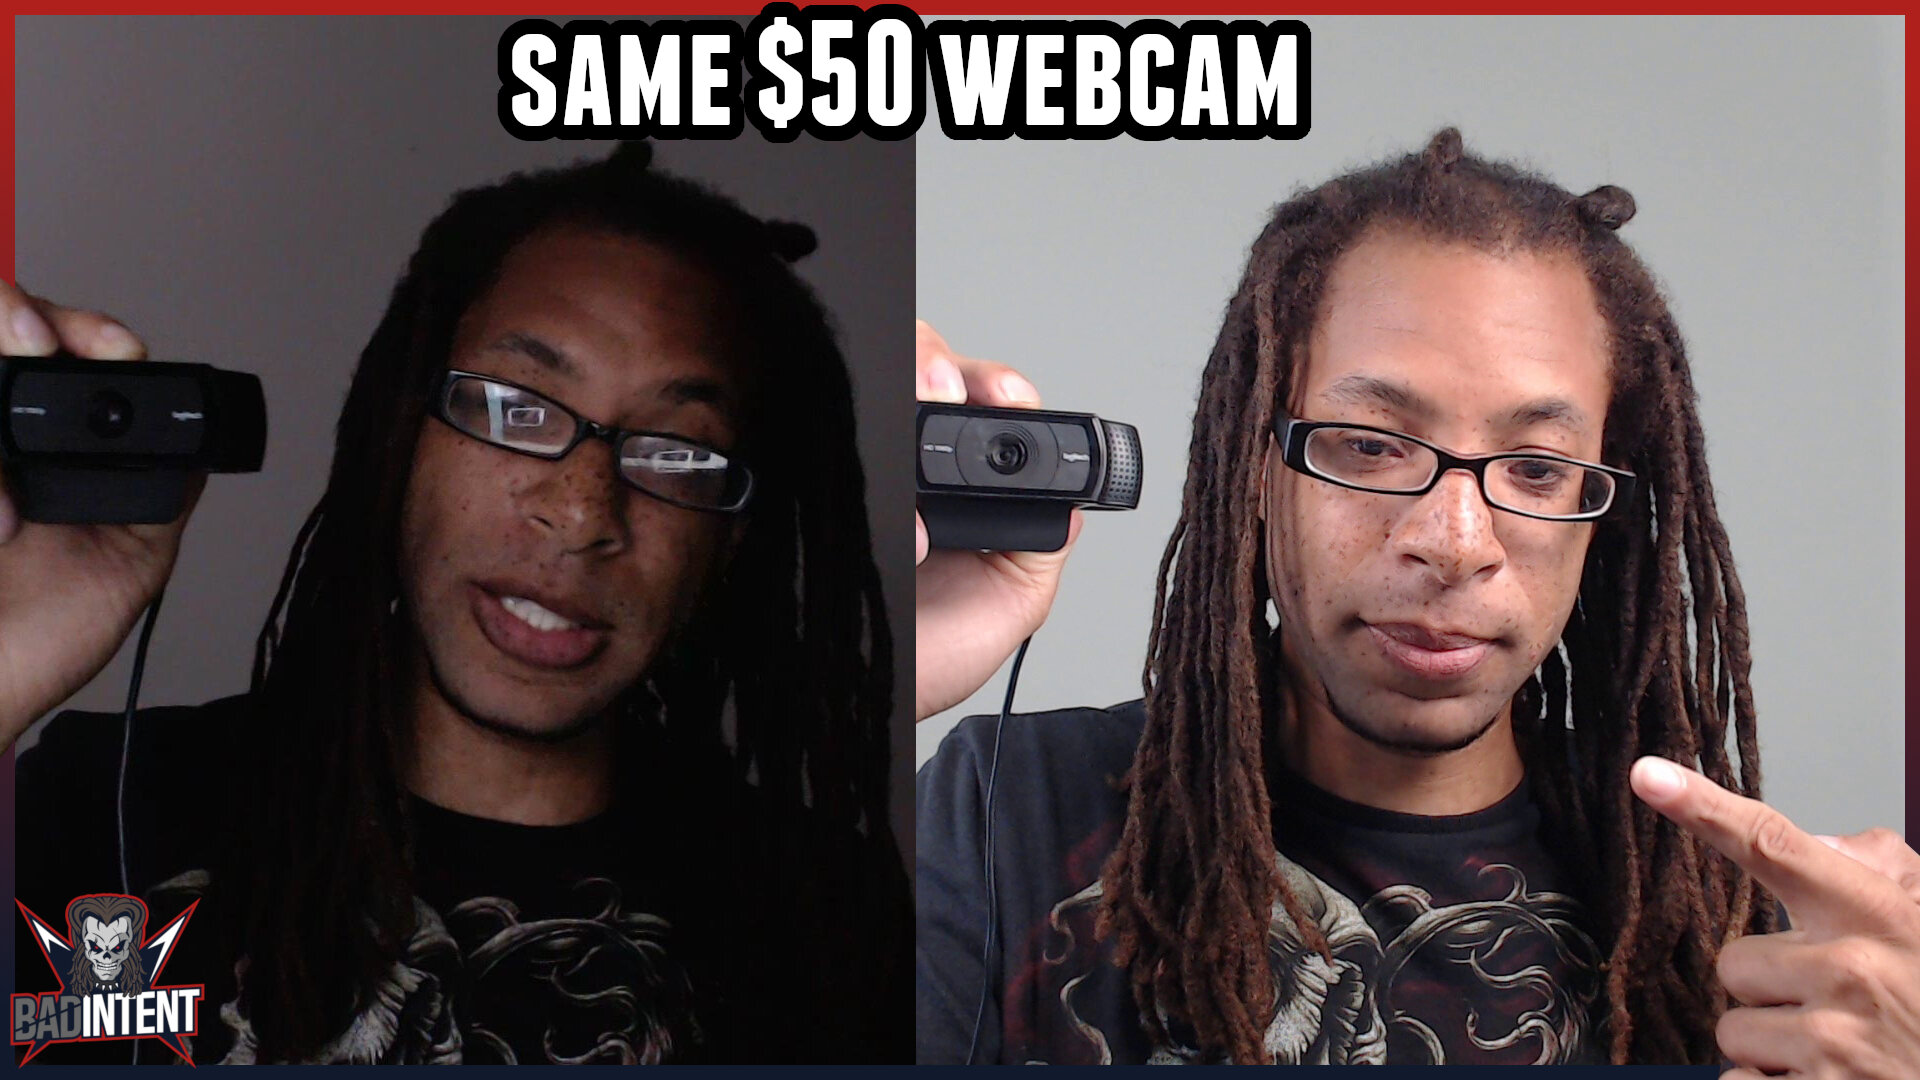
Both shots taken with the Logitech C920.
Webcams have a bad reputation for having poor image quality. They get this bad rep because, honestly they’re kind of used as intended. Users who just need a simple device to join a Zoom or Skype call just hook it up and go. That’s what they’re for.
With this approach, your quality will be acceptable sometimes, but you can make your cheap webcam look amazing by improving your lighting and optimizing your settings. The articles I linked are my detailed guides on how to do so, but the short of it is this:
- use bright studio lights, or film facing the window.
- learn how exposure, white balance, and gain affect your image.
Remember that if you use OBS to tweak your settings (which you should), you’ll have to use OBS as a webcam source in Zoom or other video conferencing software. This requires using OBS as a virtual camera with a plug-in called OBS VirtualCam. Don’t worry, it’s easy and I demonstrate how to set it up in minutes in this guide.

Tweaking your webcam’s settings may seem daunting, but my guides make it easy. Your image will look way better when you change them manually.
Webcam alternatives
Although there are many webcam options, you might not be interested in any of them for a number of reasons. Perhaps you already have a high quality DSLR, mirrorless camera, or camcorder. Or you might be comfortable shooting on your smartphone. Any of those can be turned into a webcam.
Using DSLRs, mirrorless cameras, and camcorders as webcams
This is my guide for using a DSLR or camcorder as a webcam. For the gist of it, you can use either a capture card like an Elgato Cam Link 4K (Amazon), or use the Canon EOS Webcam Utility if you have a Canon EOS camera.
Using Phones as webcams
The first method for using your smartphone as a webcam for free is with the Iriun app. I won’t break down the whole process here, but Think Media has an excellent video tutorial of it.
You can also use your iPhone as a webcam for “free” using a Elgato’s EpocCam app. Here’s Elgato’s EpocCam page. What’s the catch? Well, a few actually. Here’s a screenshot of the differences between the free and paid version of EpocCam. I’ve also embedded Elgato’s official EpocCam guide.

Resources
My reviews and comparisons:
Logitech Brio review.
Logitech C920 review.
Nexigo N930AF review.
Amazon listings:
Logitech Brio: https://amzn.to/330gYo0
Logitech C920: https://amzn.to/2HmeWHn
Nexigo N930AF: https://amzn.to/2LzMUuR
Webcam FAQs
Here I will answer some of the most frequently asked questions about webcams. This will be an evolving list.
- Why is my webcam so dark?
- Why is my webcam so blurry?
- Why can’t I change the brightness or focus on my camera?
- Why is my webcam so noisy/grainy?
- How do webcam privacy covers work?
- How to create a blurry background with a webcam?
- How to fix webcam audio and video desync?
Why is my webcam so dark?
A dark webcam image can be caused by low exposure, low gain/gamma, low brightness, or a low light environment. The easiest solution is to record in more light. After that, your webcam’s settings can be changed in OBS to make your image brighter.
If you want a brighter image for Zoom, you'll need to use the latest version OBS to access your webcam first and click “Start Virtual Camera”. Then add OBS Virtual Camera to Zoom.


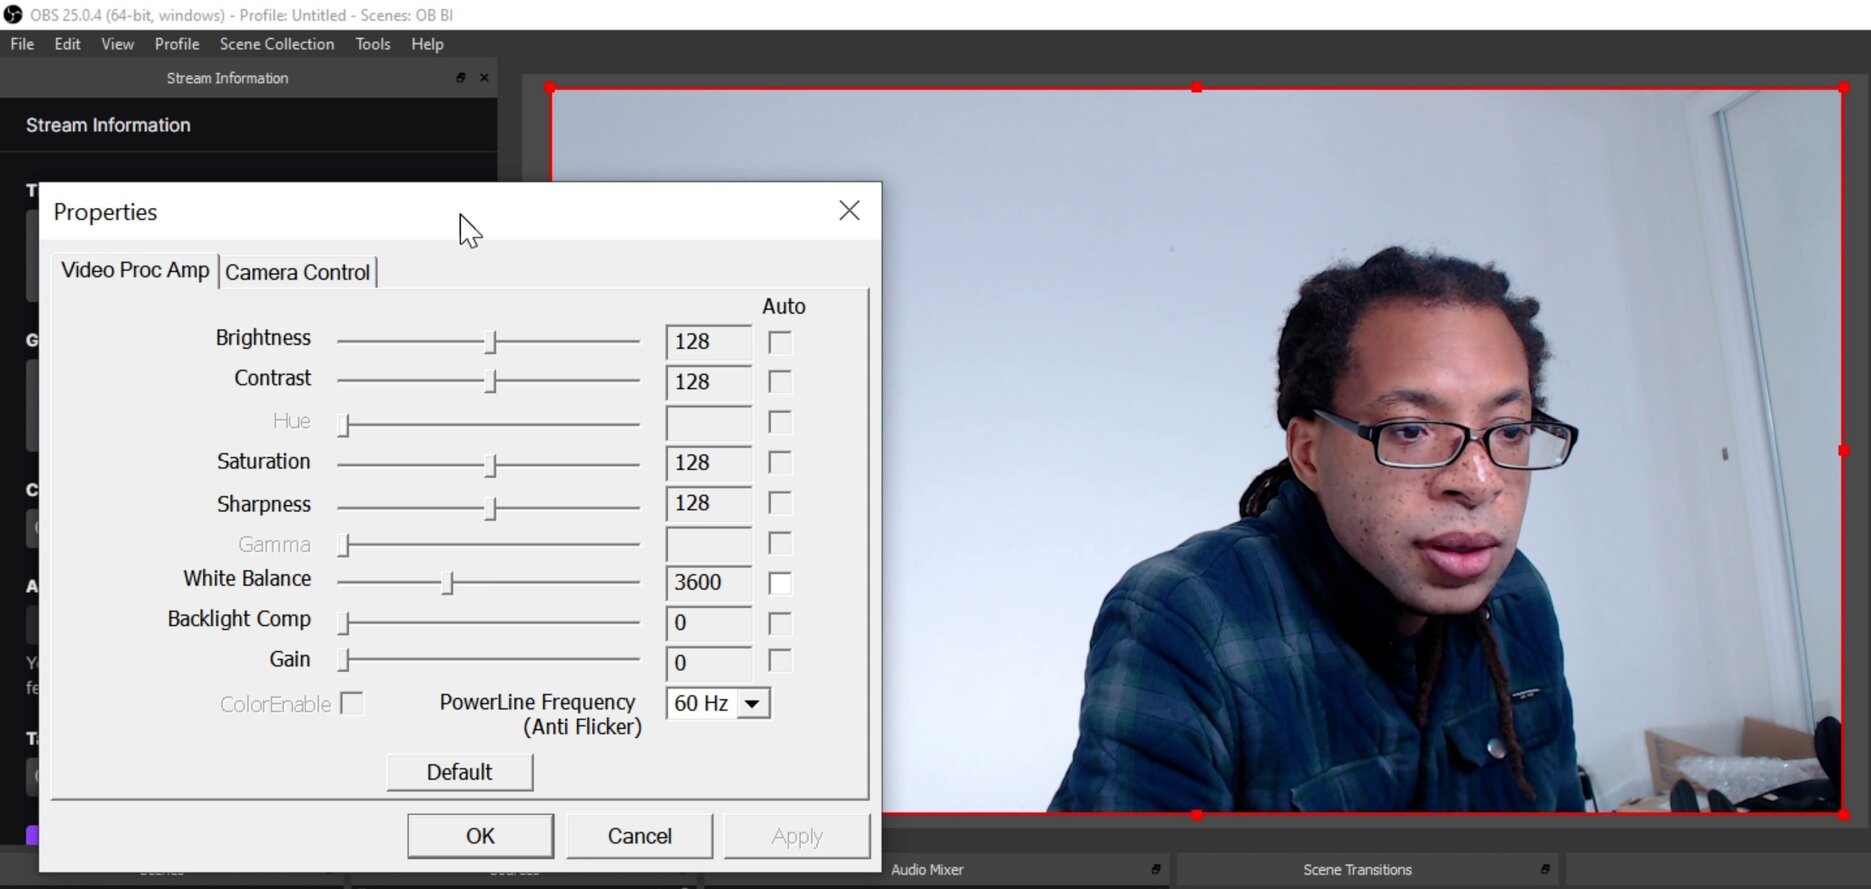
Click your webcam, then click properties > camera control > exposure.
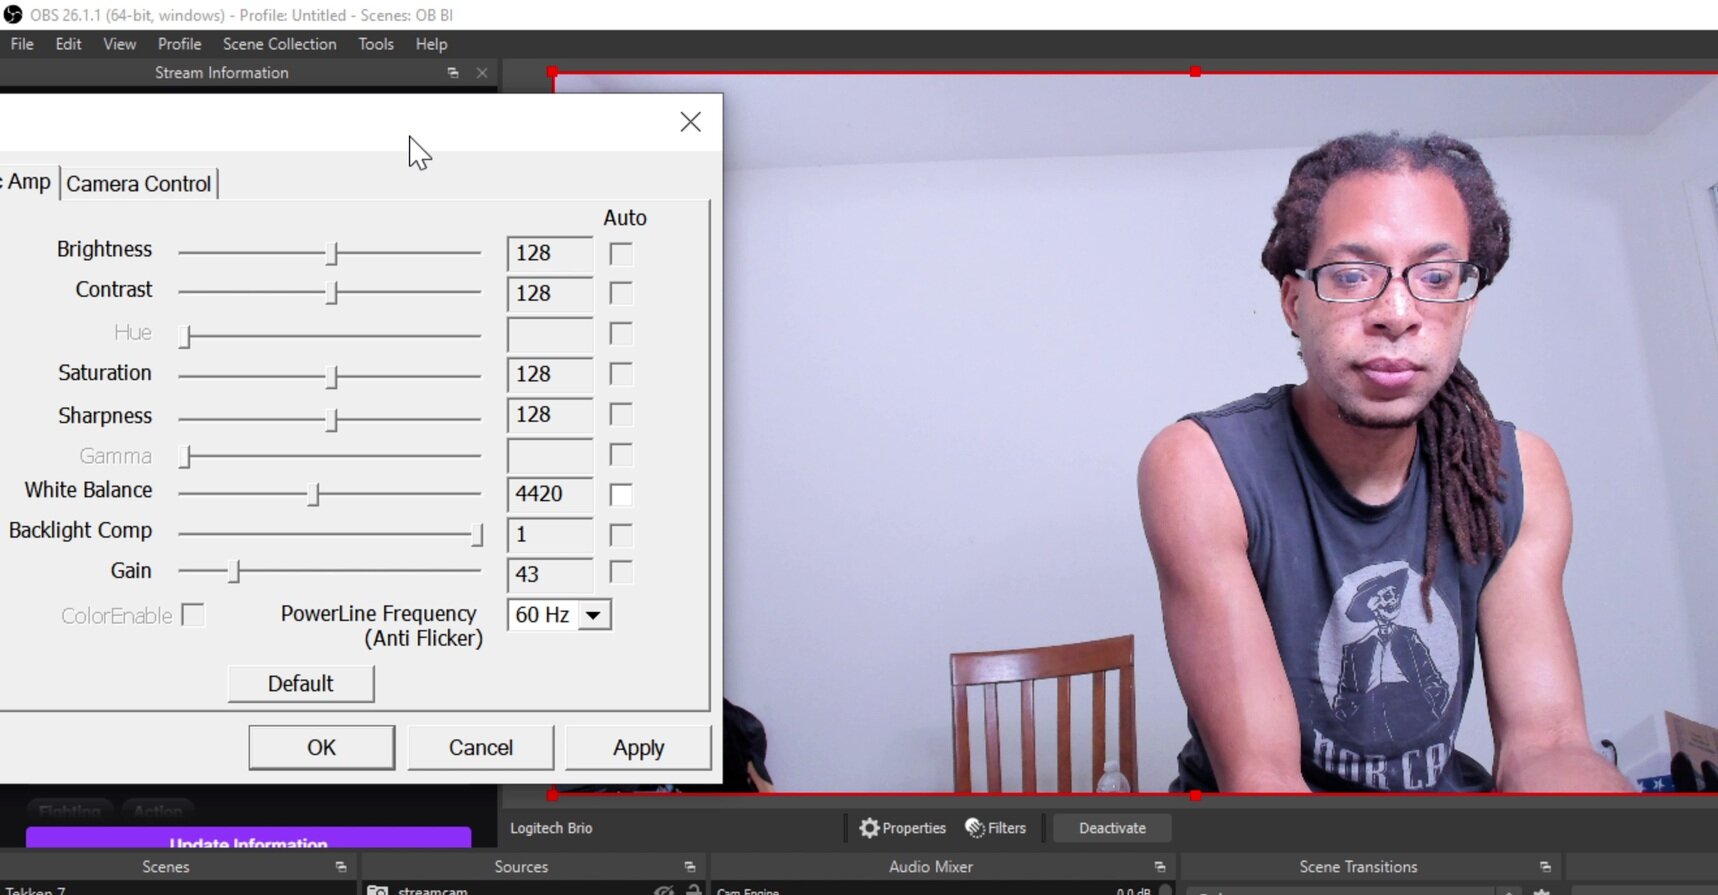
You can click “Video Proc Amp” next to “Camera Control to change the gain as well. This comes at a cost of graniness.
Why is my webcam so blurry?
A blurry webcam is usually due to focus issues or something obstructing the lens or sensor. If there are no smears or damaged parts obstructing the lens, check if your webcam's autofocus is on. You can adjust the focus manually in the Windows Camera app or OBS. To change the settings in the Windows Camera app, you must enable “Pro Mode” in the app’s settings. Some cameras have fixed focus meaning you will only appear sharp when a certain distance from the webcam.
Here's how to adjust your webcam's focus in both the Windows Camera App and OBS:
In Windows Camera app, click the focus button on the left. Drag the slider to change focus. Dragging to the bottom activates autofocus.
In OBS, select your webcam and click properties > configure video > camera control. You can adjust the focus here.
Some webcams (and many DSLRs) have a physical lens you can twist to change the focus of the device.


In OBS, click your webcam then click properties and configure video.

In the Windows Camera app, click the focus button on the left.
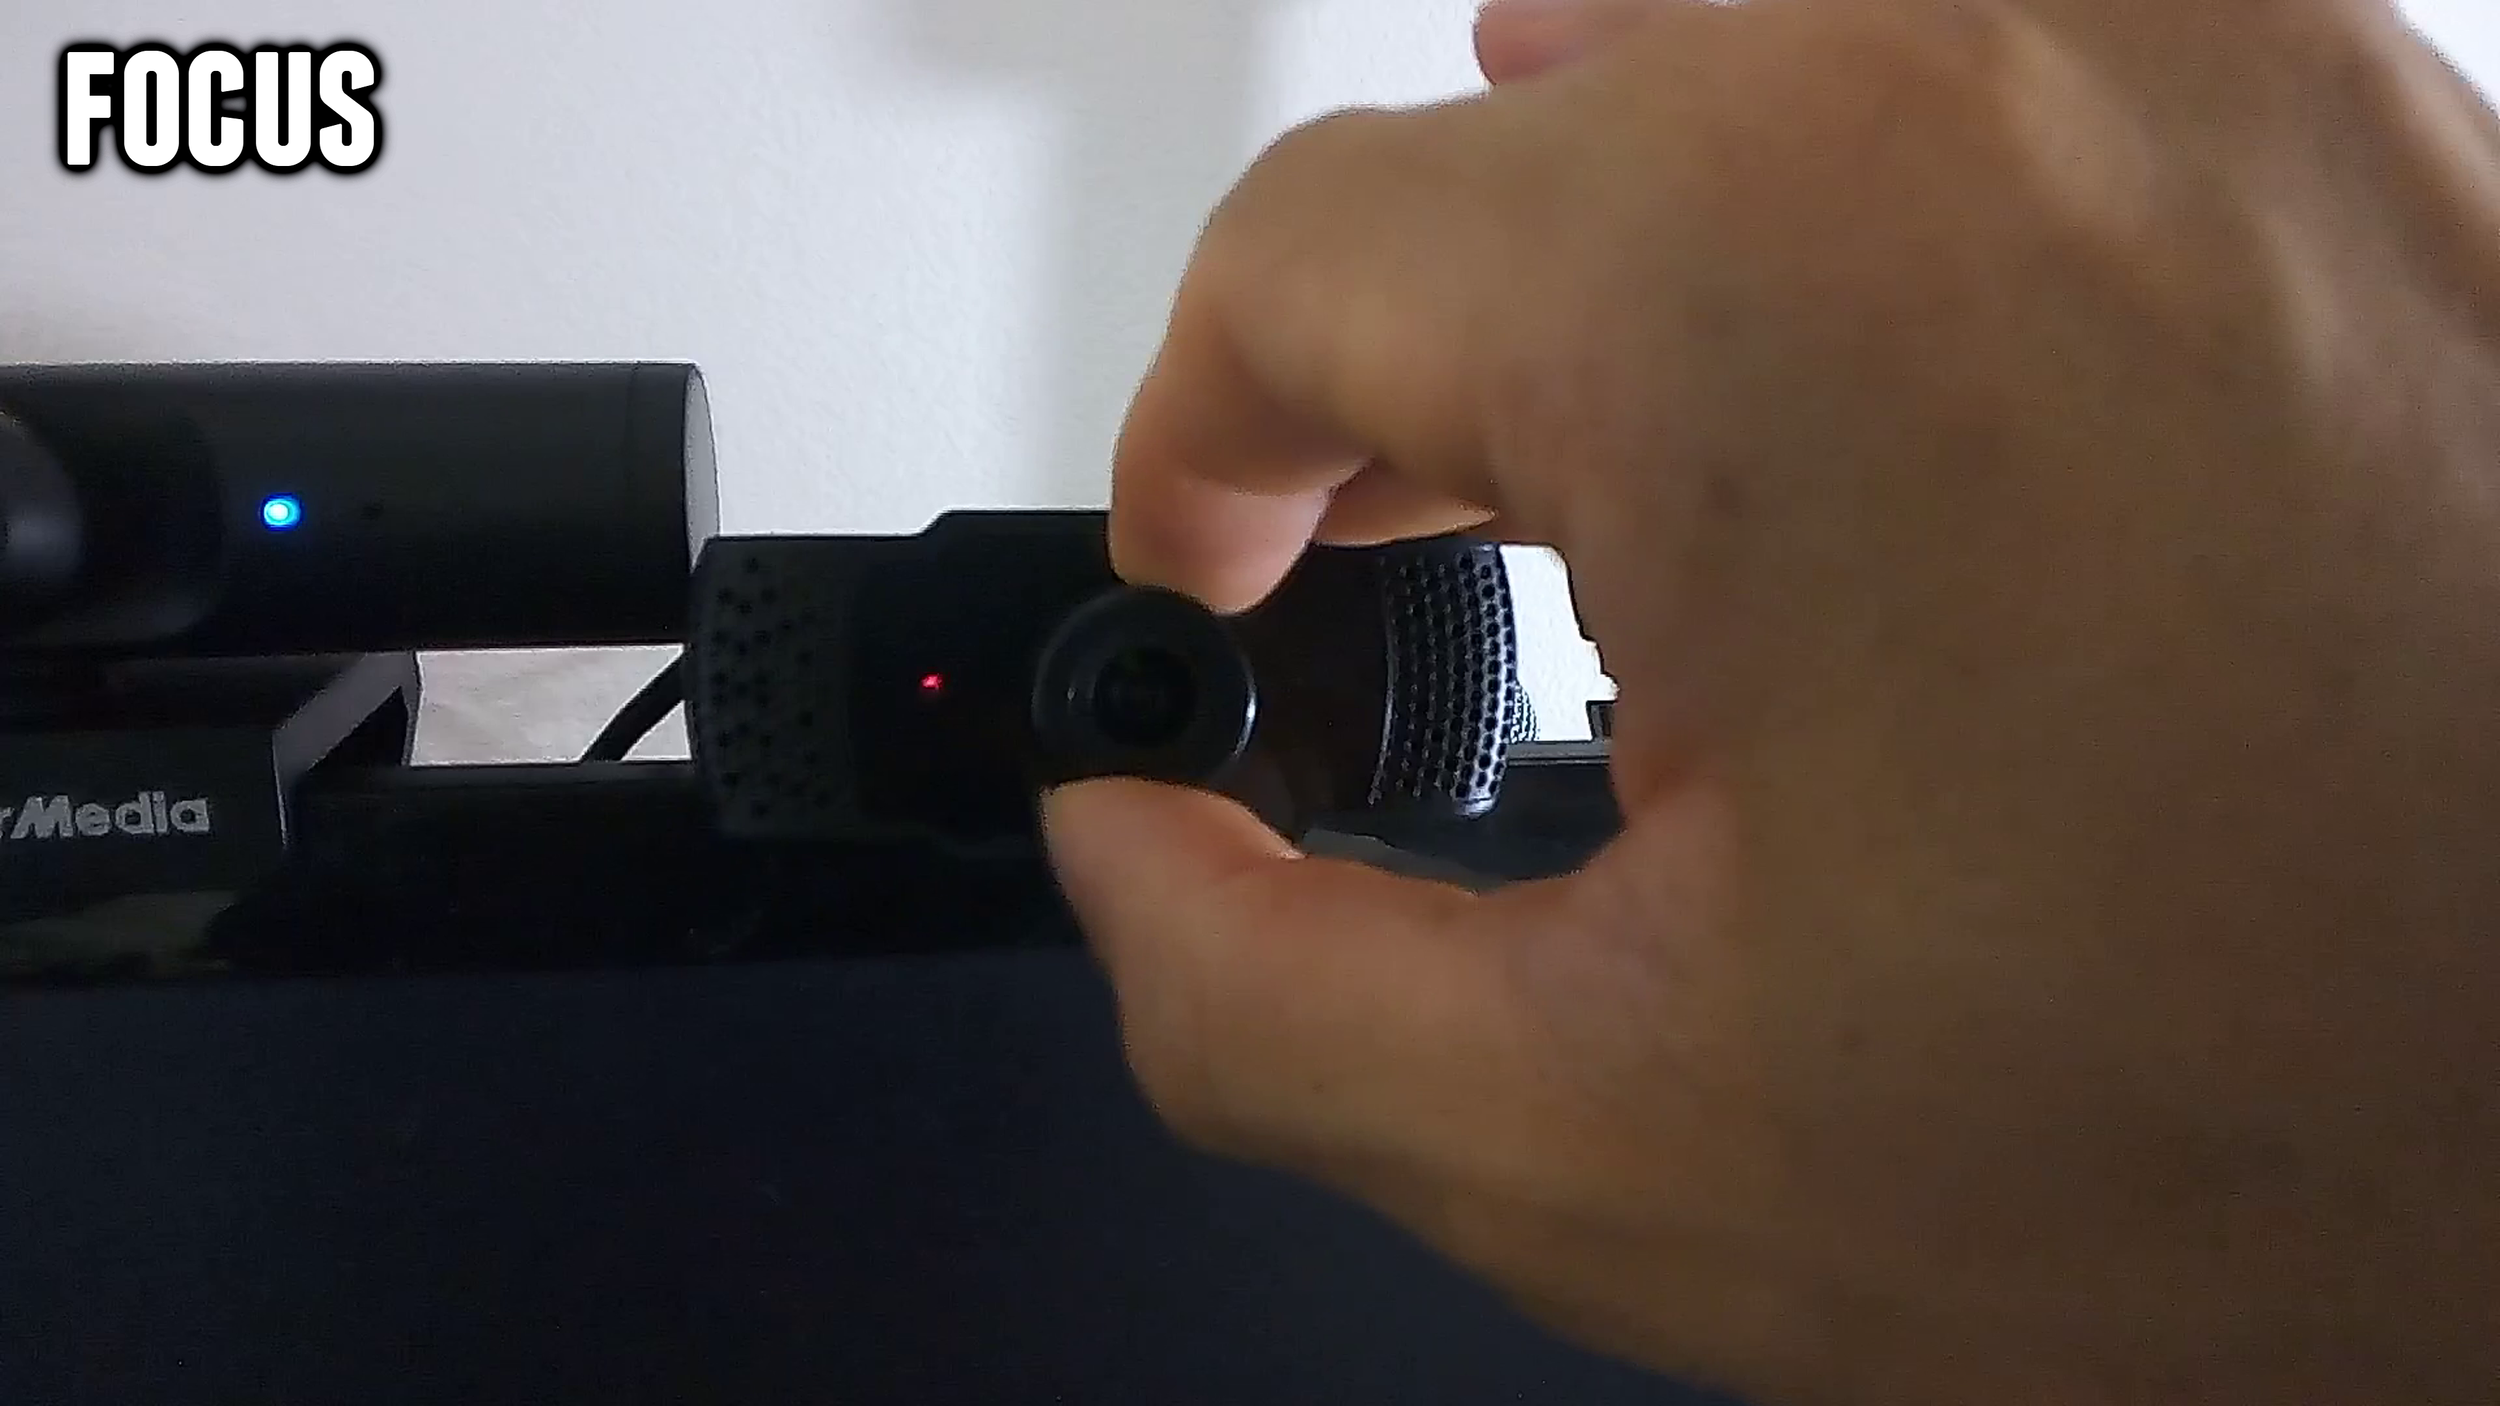
Manual focus knob on GESMA webcam.
Why can’t I change the brightness or focus on my camera?
Zoom does not have manual camera control settings. The Window Camera app allows for brightness and focus changes, but only if you enable “Pro Mode” by clicking the gear in the upper left of the app. OBS Studio allows control over brightness, focus, and more advanced settings.

Enabling Pro mode in the Windows Camera app.
Why is my webcam so noisy/grainy?
All cameras and webcams produce some level of image noise - some more than others. Noise can be exacerbated by low light environments and ISO or gain settings that are too high. To reduce this, film with more light and don’t increase your gain higher than necessary.

Still shot from the Logitech Brio at night.
Still shot from the Logitech Brio with more light.
How do webcam privacy covers work?
Webcam privacy covers obstruct the lens of a webcam so they can’t take in light. Some webcams come with adjustable covers that can be slid over the front of the webcam, but others are stuck on with adhesive and have a small sliding panel that can be opened and closed when needed. Even if a computer’s webcam is compromised, the privacy cover protects from potential misuse. They also serve as a protection against incidental scratches and smears.

Adhesive cover open.

Adhesive cover closed.

Built-in cover closed.
How to create a blurry background with a webcam?
Unlike DSLRs, webcams like the Logitech C920 and Logitech Brio cannot produce a shallow depth of field or blurry background normally. However, you can mimic a blurry background by taking a picture of your set, blurring that and using a green screen to replace your background.
However, recently the Razer Kiyo Pro Ultra has a wide aperture lens that can give you a shallow depth of field.
Here's how to create a blurry background effect with a green screen in OBS:
1. Take a picture of your background with your webcam.
2. Edit that image in any photo editing software like GIMP and add a blur effect.
3. Import the blurred image onto the layer under your webcam.
4. Set up and configure your green screen.
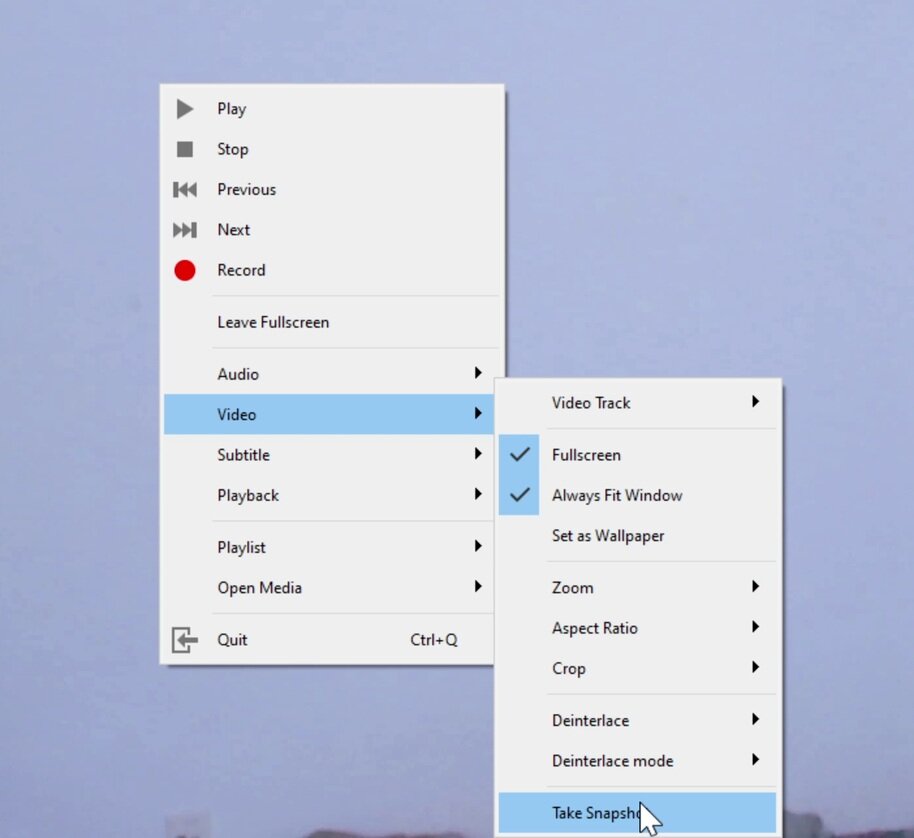
You can take a quick video in OBS and save a snapshot from it in OBS.

Add blur effect in any photo editor.

Import the blurred image into OBS under your webcam’s layer.

Configure your green screen.

Before blurred background effect.

Final Result - after blurred background effect.
How to fix webcam audio and video desync?
To fix webcam video and microphone audio desync, you must first find out how delayed your video feed is. Then create an audio offset to resynchronize your video and audio. This can be done live in OBS or in video editing software.
Here's how:
Solution 1: Use an audio offset in OBS
Step 1: Approximate how delayed your video is with a sample recording.
Step 2: Add an audio offset to your mic. Around 150 ms is a common delay value.
Step 3: Record and playback another sample recording and repeat. Adjust the offset in increments of 50 ms.
Offsetting directly in OBS is most convenient for streamers and for those only using one video source.
Step 1: Approximate how delayed your video is with a sample recording.
To do this, start a recording in OBS and speak into the webcam and mic as you normally would. Use an audio cue like a clap to assist you further.
Make sure to actually click “Start Recording”
Using a clap as a video/audio cue.
This clip is long, but yours can and should just be a few seconds.
Playback the video file in any program like VLC player. This is your starting point of how much delay you have with no alterations. This step will be repeated shortly.
Step 2: Add an audio offset to your mic. Around 150 ms is a common delay value.
Click the gear next to your microphone source and click "Advanced Audio Properties". In "Sync Offset" add any value to delay your microphone. The values are in milliseconds. About 150 ms is a common delay value, so you can start with that and add or subtract from there as you go.
Click the gear next to your mic and “Advanced Audio Properties”.
Add a Sync Offset in ms. 150 is a good number to start at.
Repeat step 1 (sample recording) with this offset and repeat by adding or subtracting in increments of 50 until your sound is synchronized.
Solution 2: Synchronize your video and audio manually in a video editor.
Syncing manually in a video editing software is best for those making YouTube videos since you'll be in an editor already. It's also best when you have multiple video sources that can have varying amounts of delay.
In this example, I'll be showing Vegas Pro, but the same concept applies to any video editor. Here's how to sync your webcam video and audio in a video editing program:
Step 1: Import your video into your timeline.
Step 2: Separate your audio track from your video.
Step 3: Drag your audio forward on the timeline. 150 ms is a good place to start.
Step 4: Export your video and verify if the video and audio are synced.
Import video and drag it onto timeline.
Ungroup or unlink your video from audio. In Vegas Pro, right click and click group > clear.
Drag audio forward on timeline to delay it. Here it’s 0.15 seconds (150 milliseconds)
Render video, play it back, and make sure it’s synced.
Repeat steps 3 and 4, adjusting in increments of 50 ms until you find the correct offset value.